

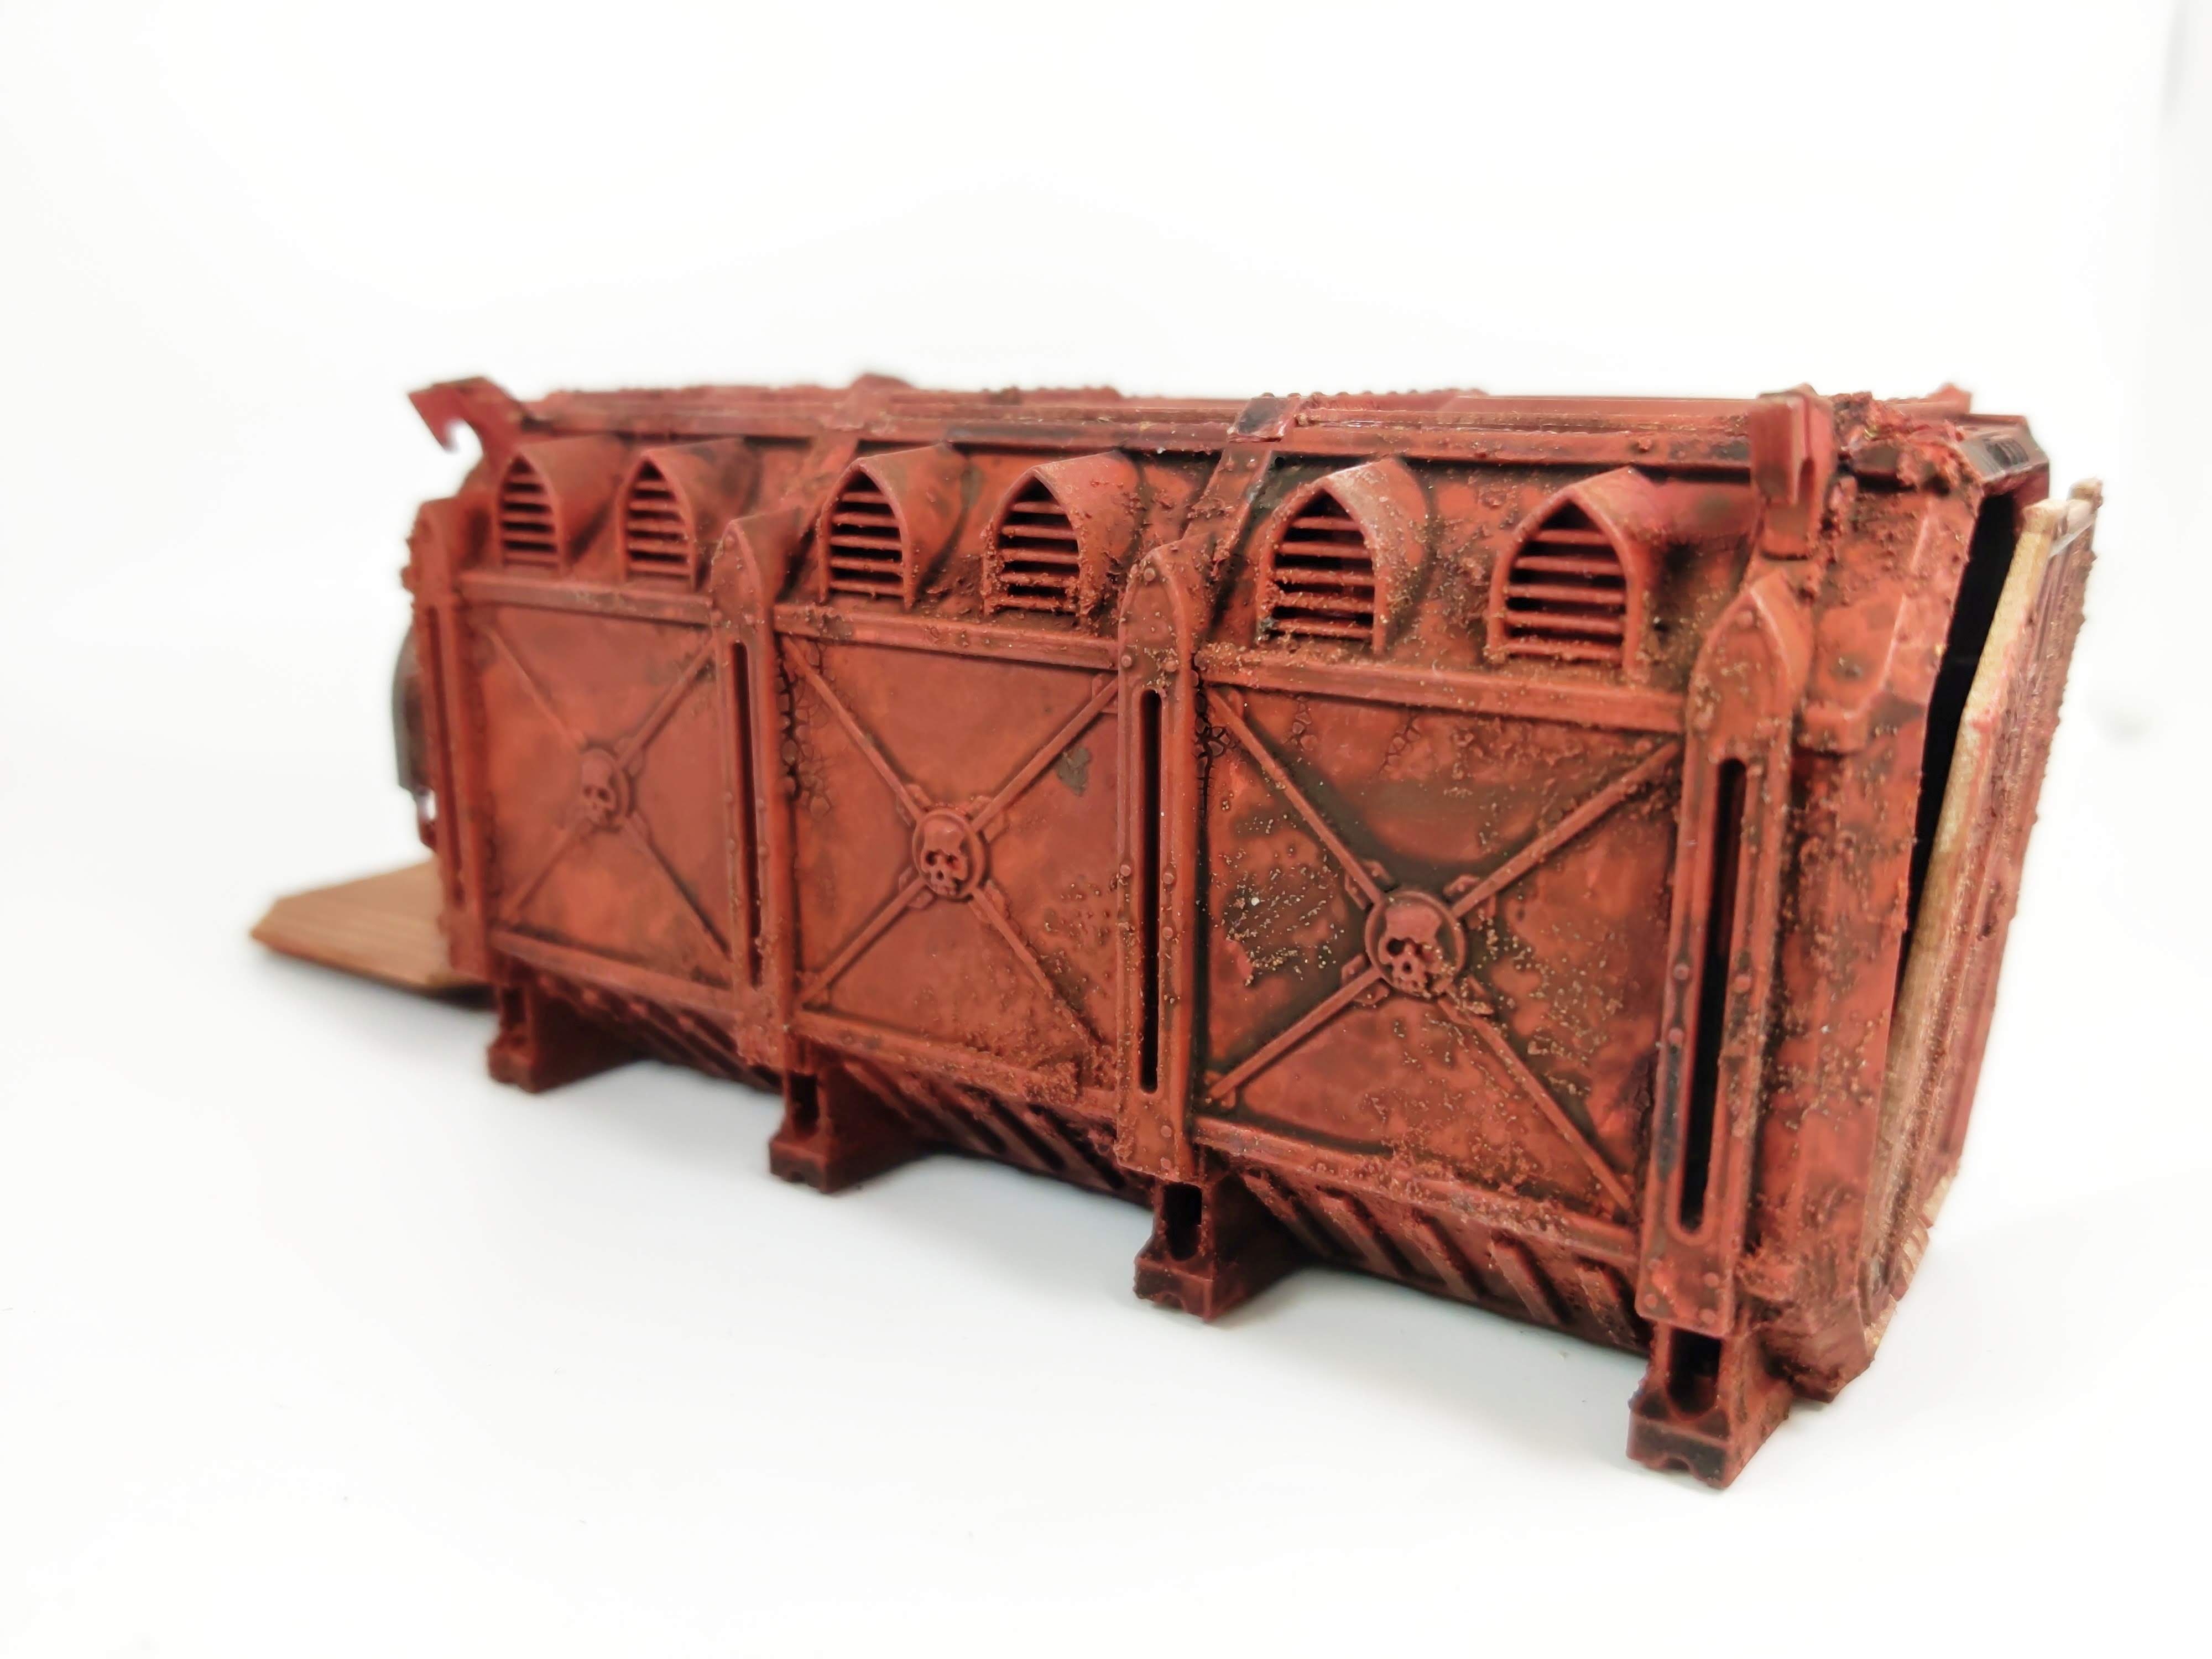
It had been sat unbuilt for quite a while because I wanted to make the doors hinged so they could open and close.

It's a little fiddly but actually very simple. I used fine brass pins in the doors themselves and drilled into the door frame.

I drilled through the bottom of the door and had to try and patch it up with some sprue shaving, superglue and bicarb of soda. Fingers crossed it's strong enough.
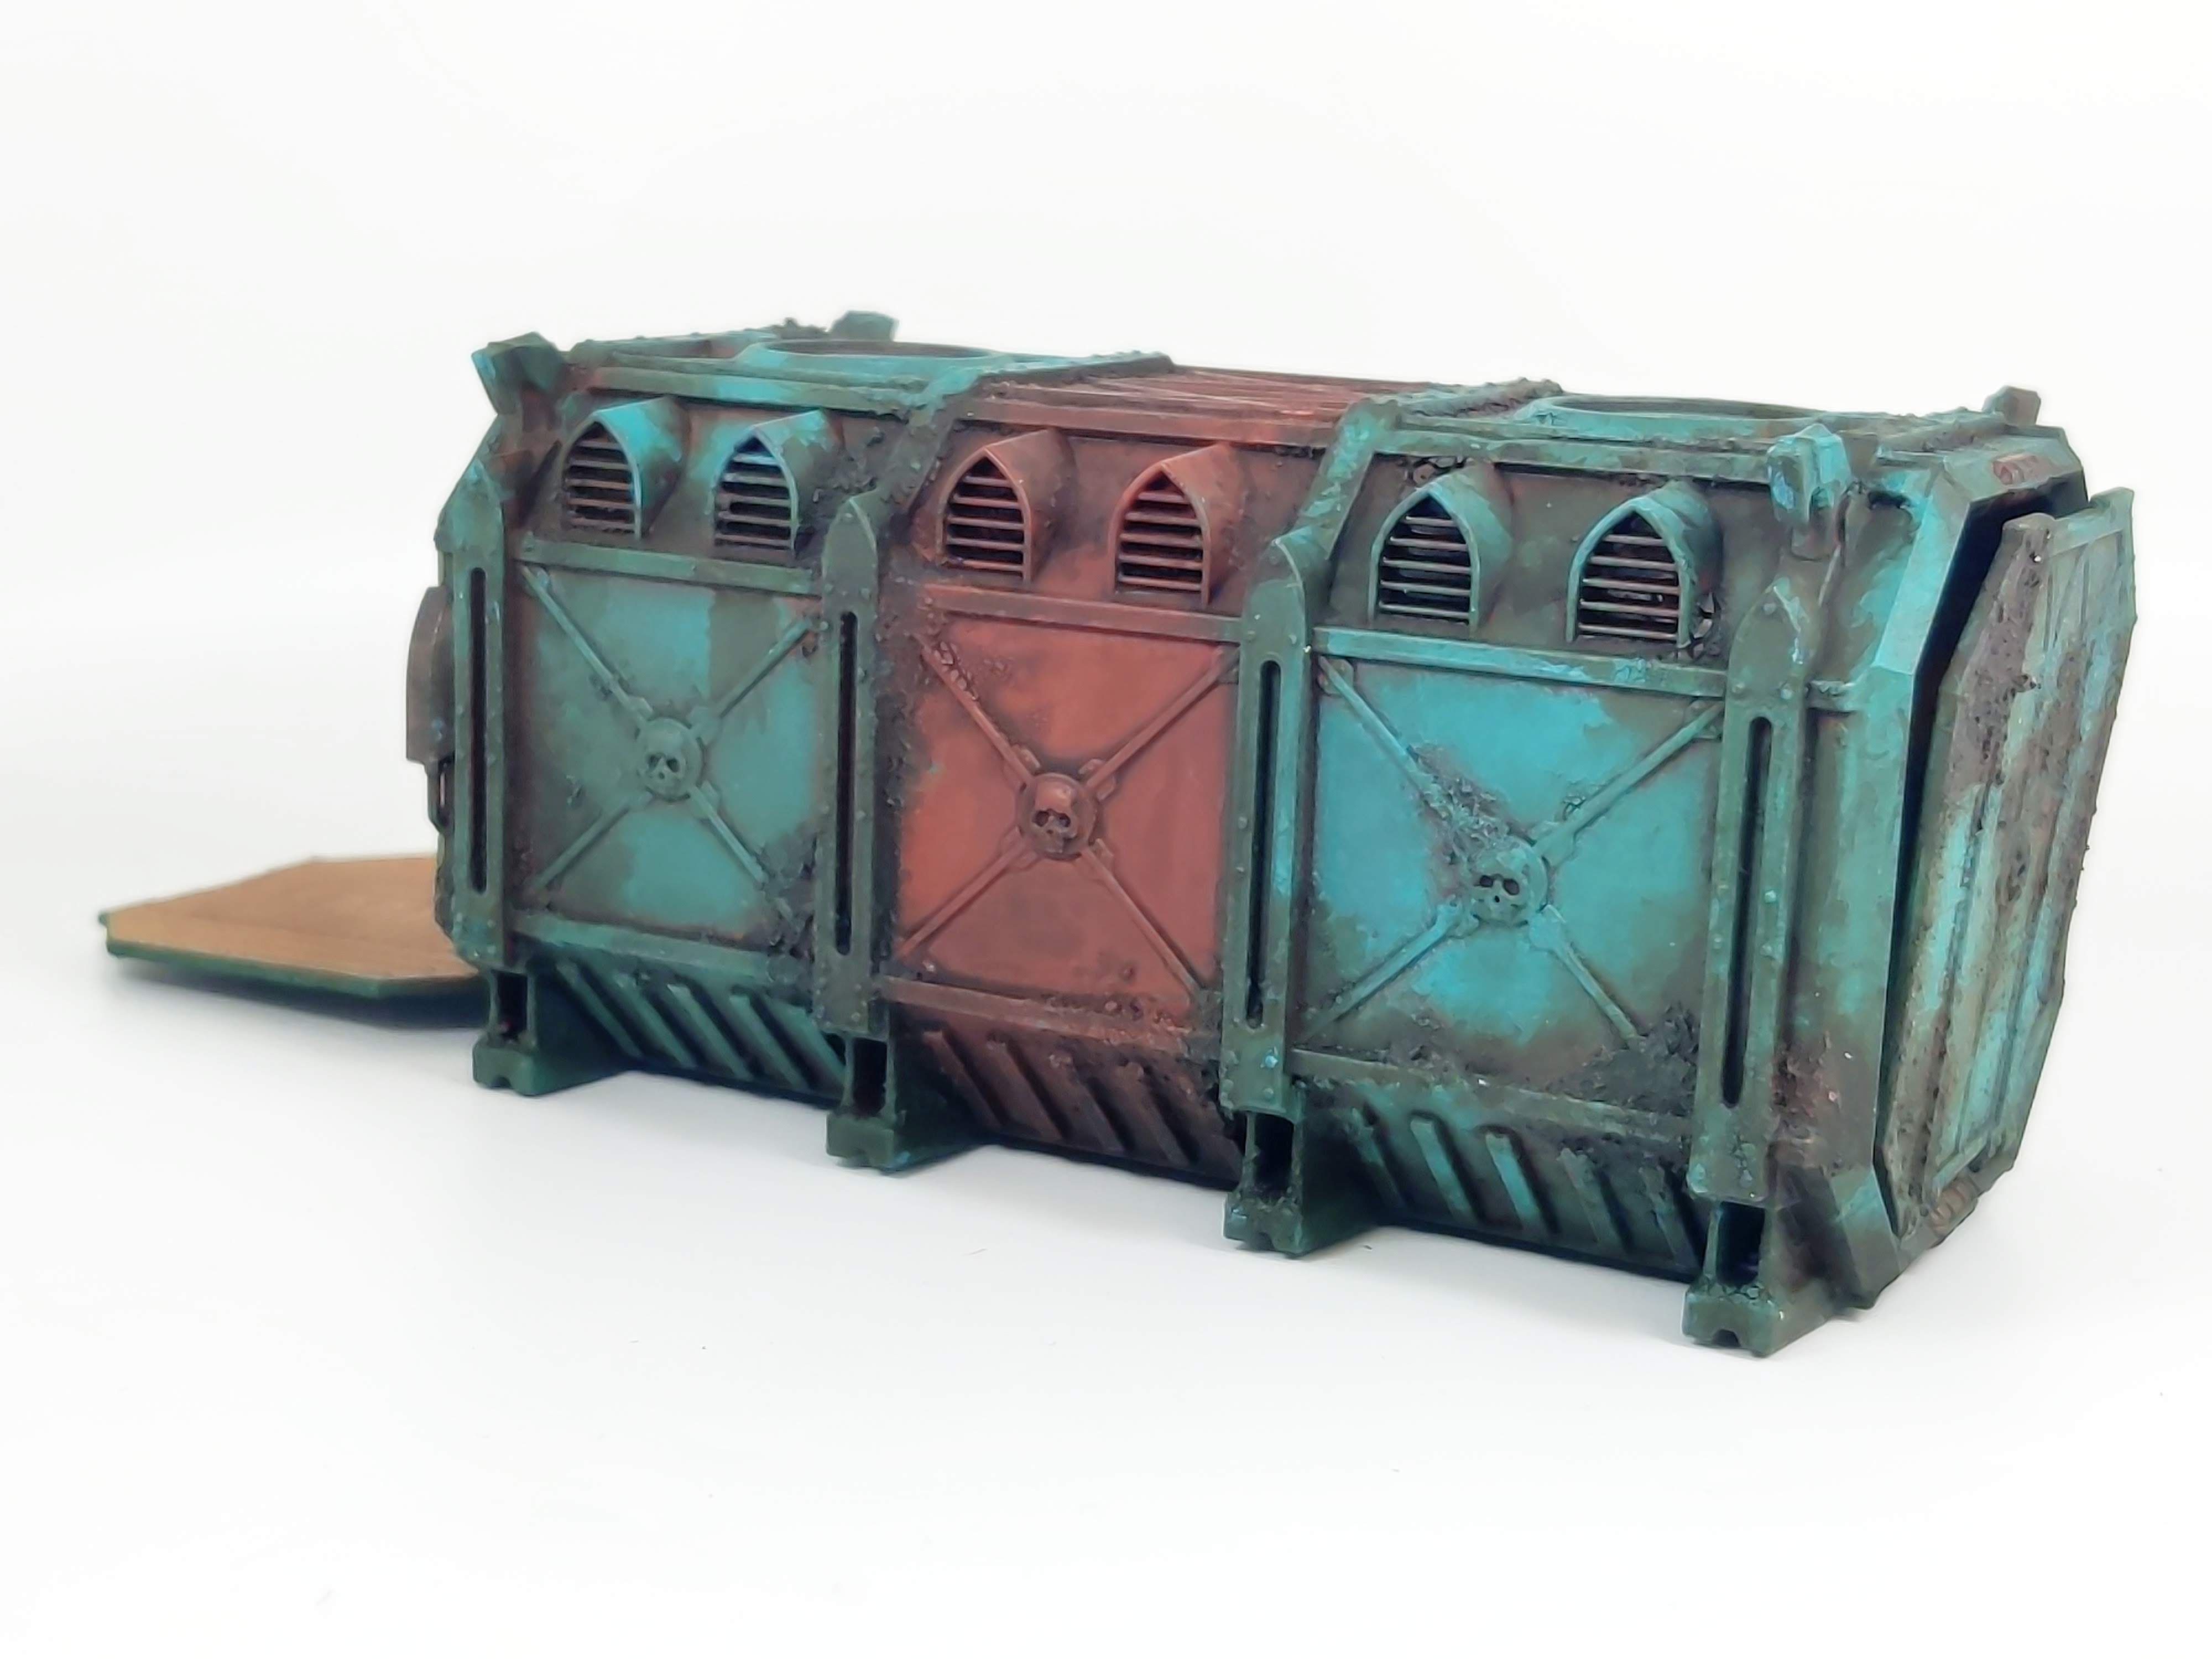
Basecoats, this appears much bluer than in real life. It is Hydra Turquoise I think so has a little more green in the colour.
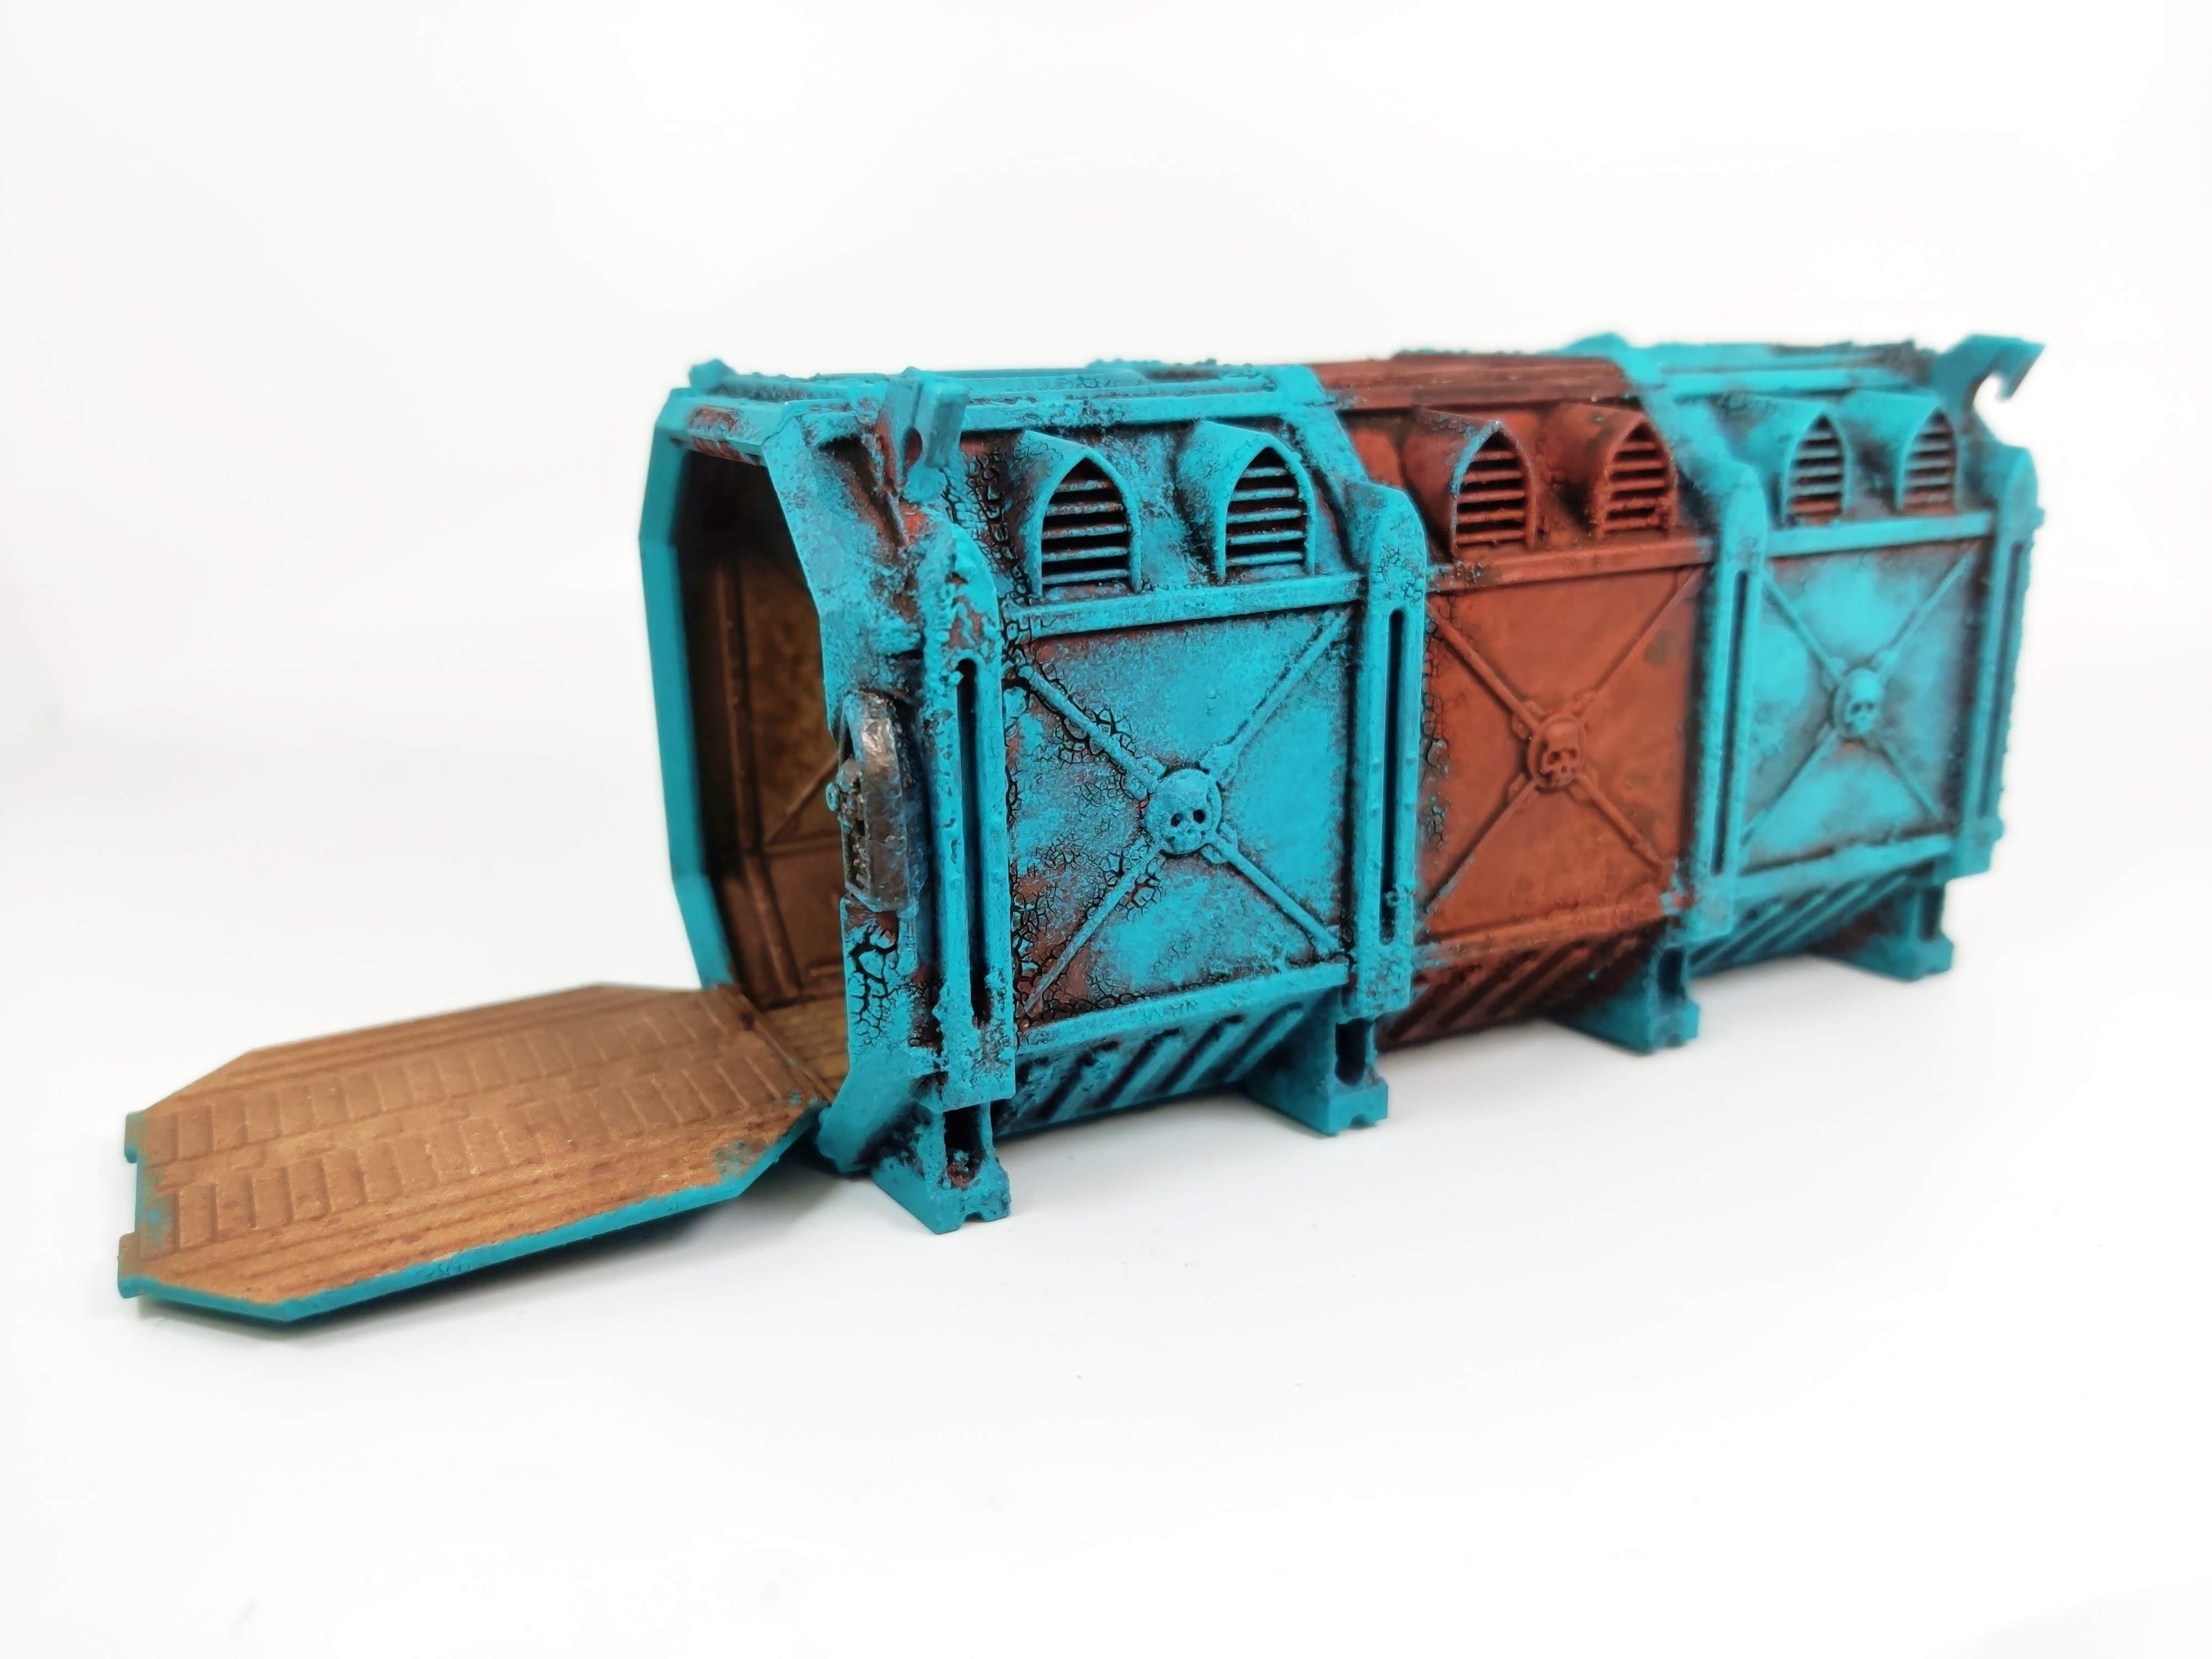
These containers can be incredibly frustrating as to get to this stage is relatively quick and easy. Then I get stuck with how next to proceed.
I;d originally planned a white stripe down the centre but somehow thought the red looked cool so that arrested any momentum as I had to ponder that change in plan.
It would still need washes though, to try and bed that Turquoise into the red oxide undercoat.

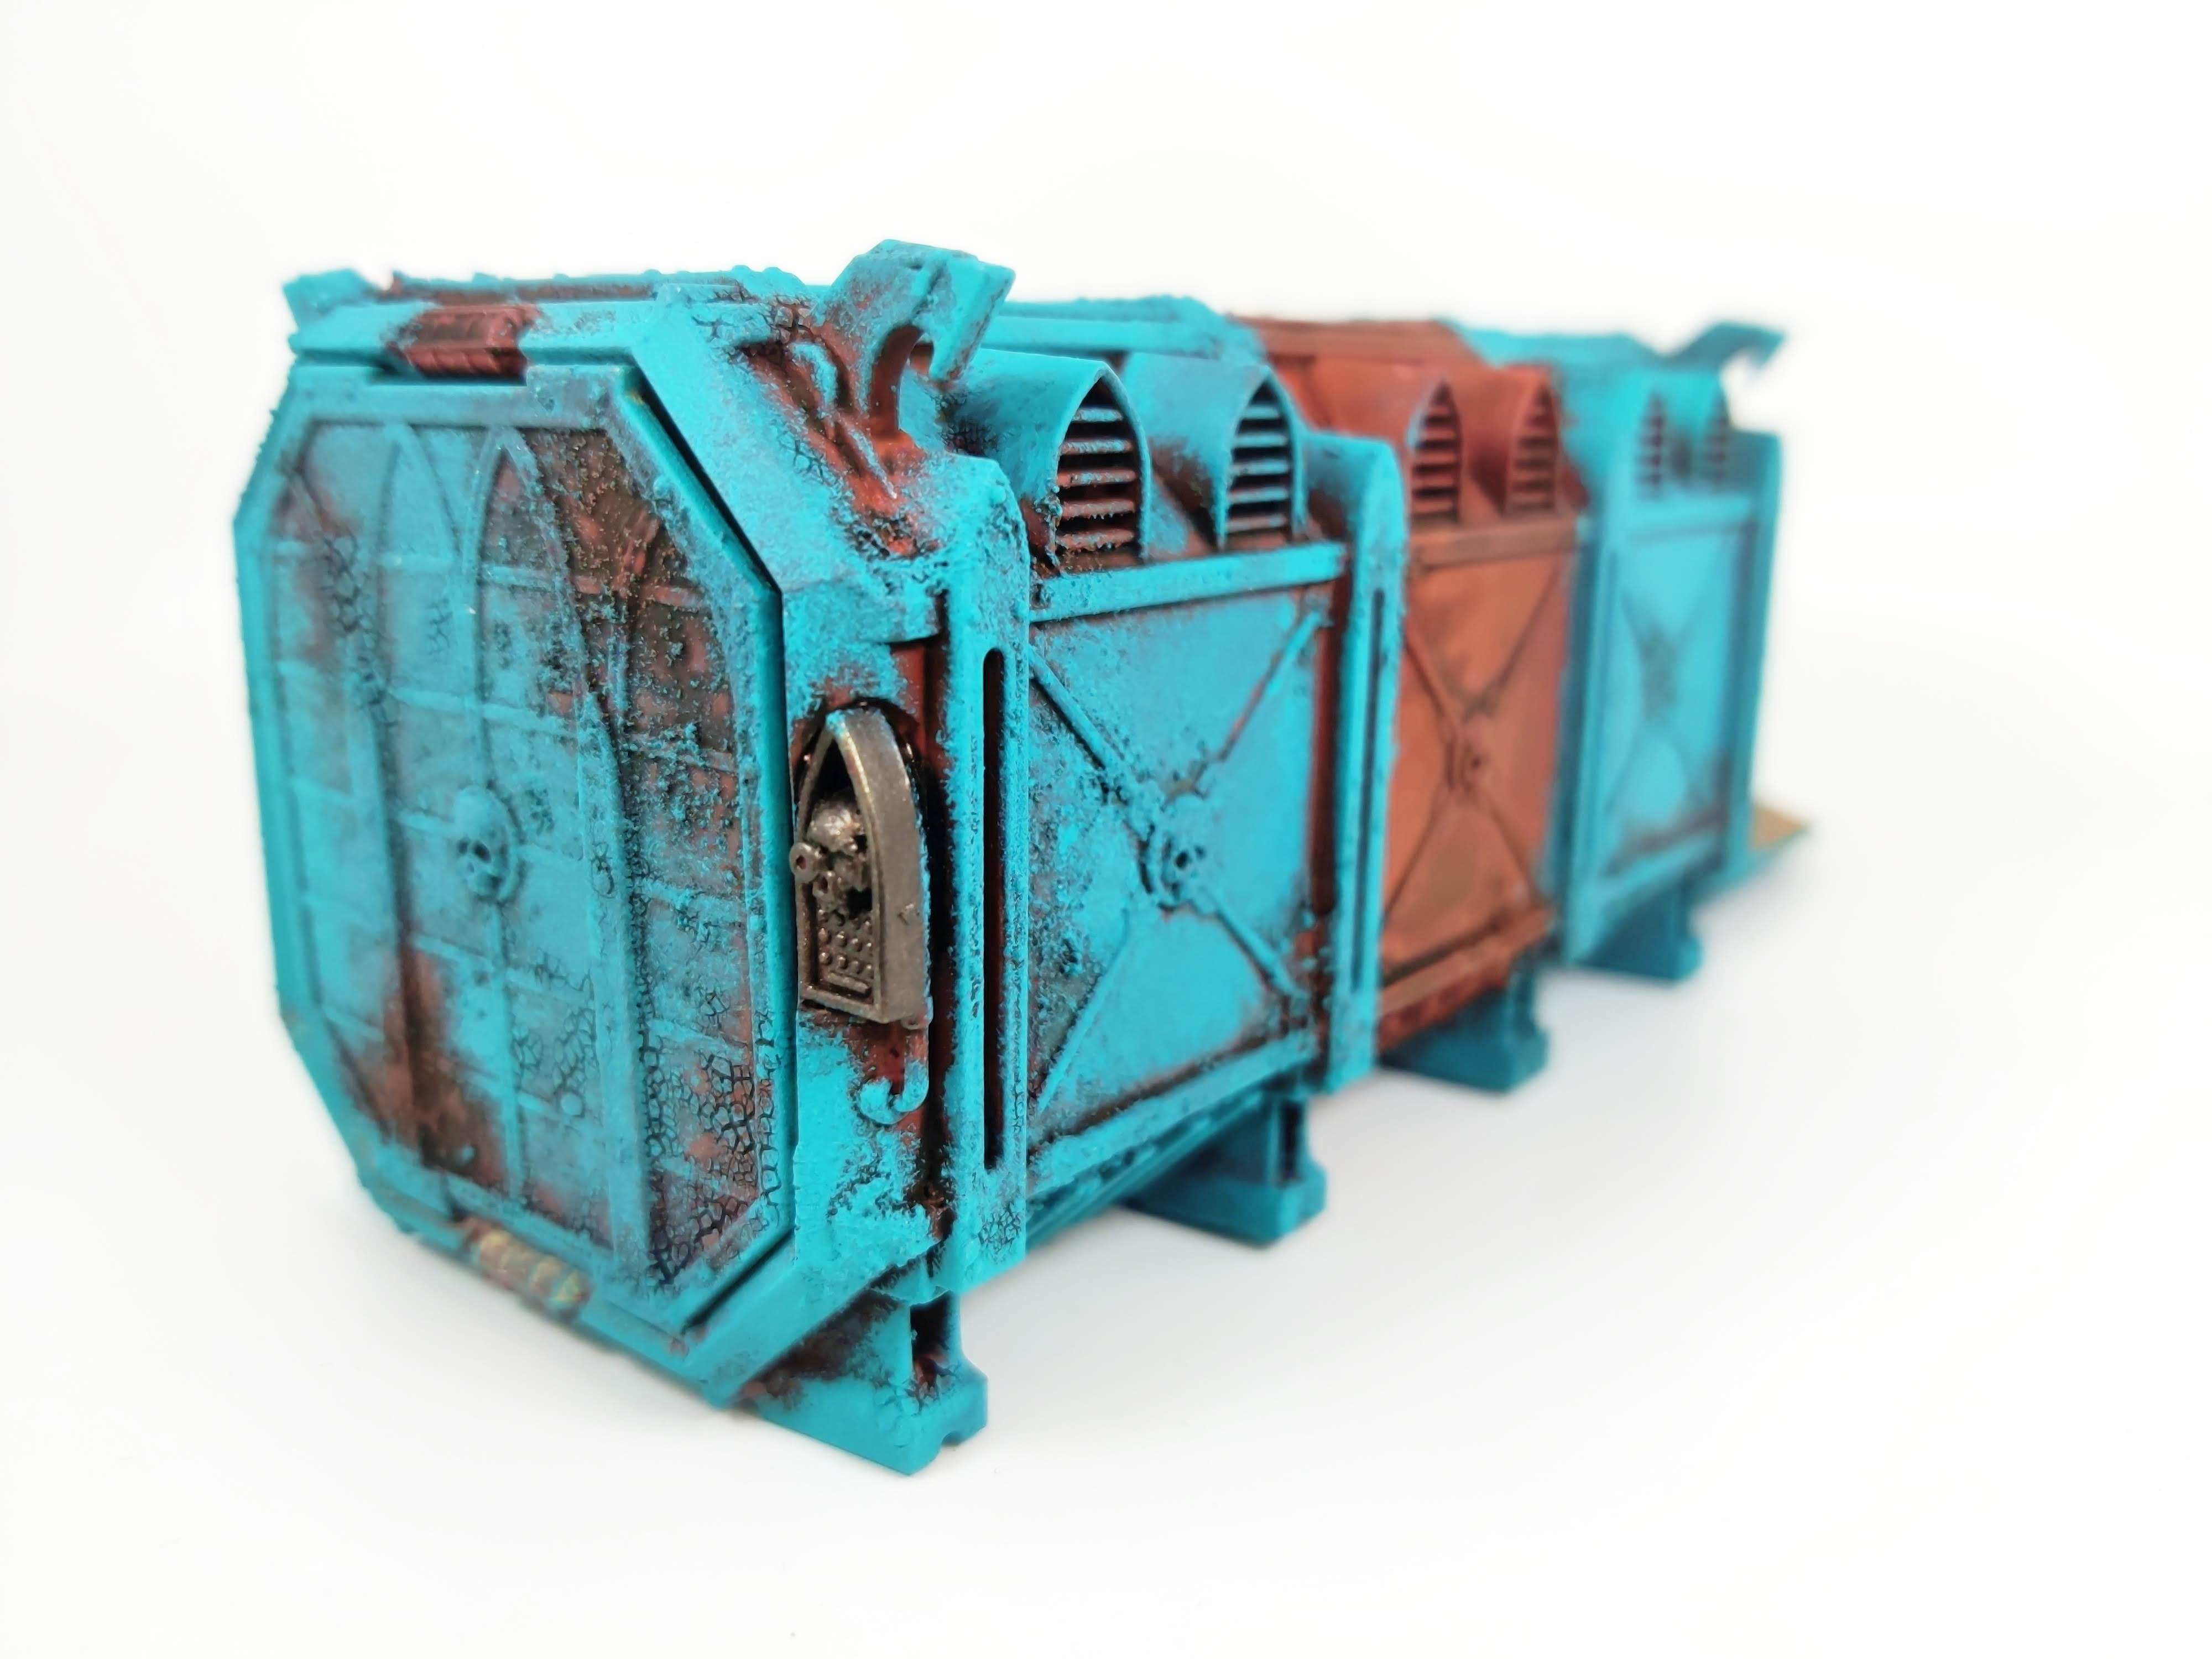
My sepia wash once again doing it's damnedest to leave deposits in the recesses. Not a problem with loads more washes and rust effects to add but this is much more representative of the actual colour.

I'll be trying to keep the red stripe darker than I usually go. It won't get to Vermillion, I have a Mephiston Red that I'll be sticking to.

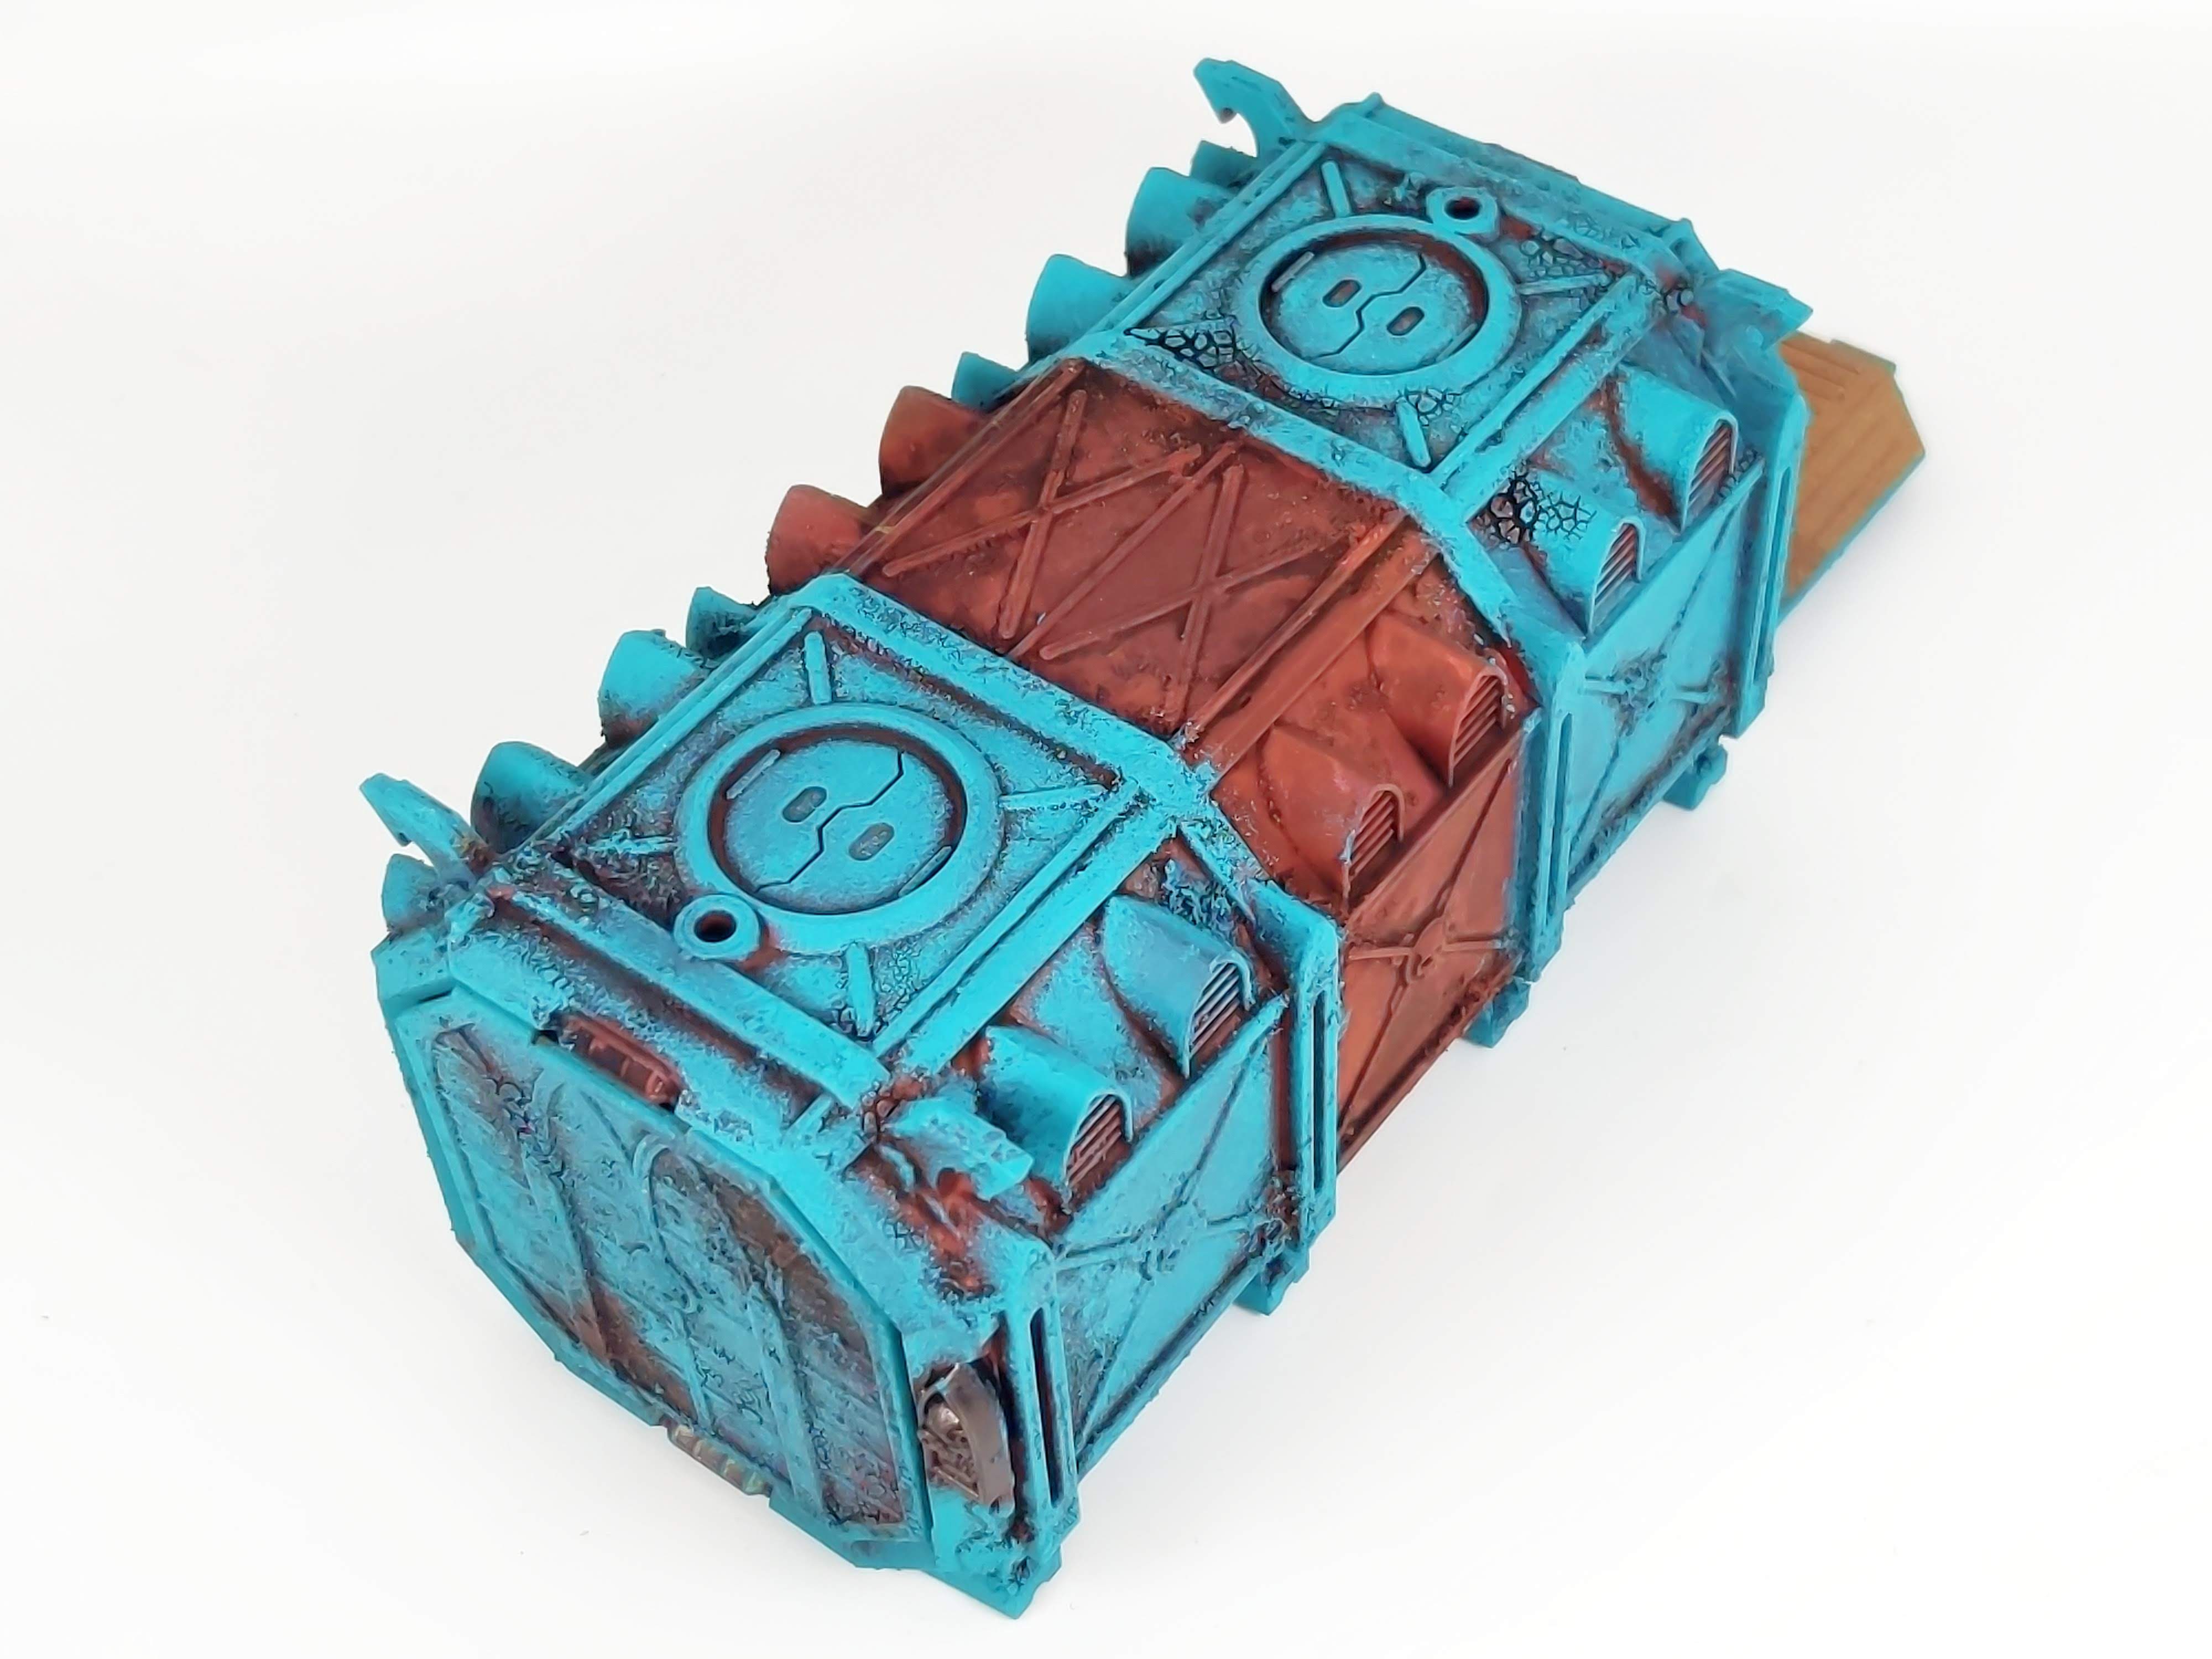
After I do some more highlights and weathering the next issue is big numbers, how and where do I put the big number?
However, I do get a Great Big Big Build RUSTY Stamp of Approval for the build.

I say don't bother with big numbers on these ones. If you want to do them on future containers, do them before all that wonderful weathering and rust work - as the painted numbers would also be grunged up!
ReplyDeleteYou're right of course, and I believe most scale modelling tutorials would advise that. What I tend to do though is mask the number and stipple on the paint so I can avoid some of the weathering, where it would have been distressed, and then add some additional rust over the number too. It's a halfway position.
DeleteI think for now I may just leave them as you say. They're at a stage where I can still display them and no one would know they're incomplete. I'll see nearer Parade Day.
Ah, cool!
DeleteI messed around with trying to hinge the doors on one of mine, but eventually decided that, altho a fairly simple prospect, it's also a case of "simple is not the same as easy", and I got frustrated and gave up.
ReplyDeleteI really like the look with the central section in a different colour from the rest of the container. I did something similar with most of mine, and I feel like it really gives them a bit of something that a solid block colour basecoat doesn't.
I just wanted one where it worked, I felt the open one was a cop out and it was worth giving it a go. I've seen two different ways to do it, one I would agree seemed simple but was actually not easy. The one I went with was simple and relatively easy, I just think I chose the wrong material for the pins. If I ever do another one I'll share how simple it is. It's only 4 pins and 8 holes.
ReplyDeleteI've also seen a horizontal stripe across the full width of the middle section. I've enjoyed doing it this way but part of me is thinking I should have been a little more adventurous, rather than one style and then replicating it in 4 different colours. Then again it might match the barrels when I come to do them...
The one I was trying was also just 4 pins and 8 holes. My issue was that the plastic on them is so thin and the angles are awkward, and my essential tremor meant I just couldn't maintain a steady enough angle to keep from drilling thru the side or something.
Delete