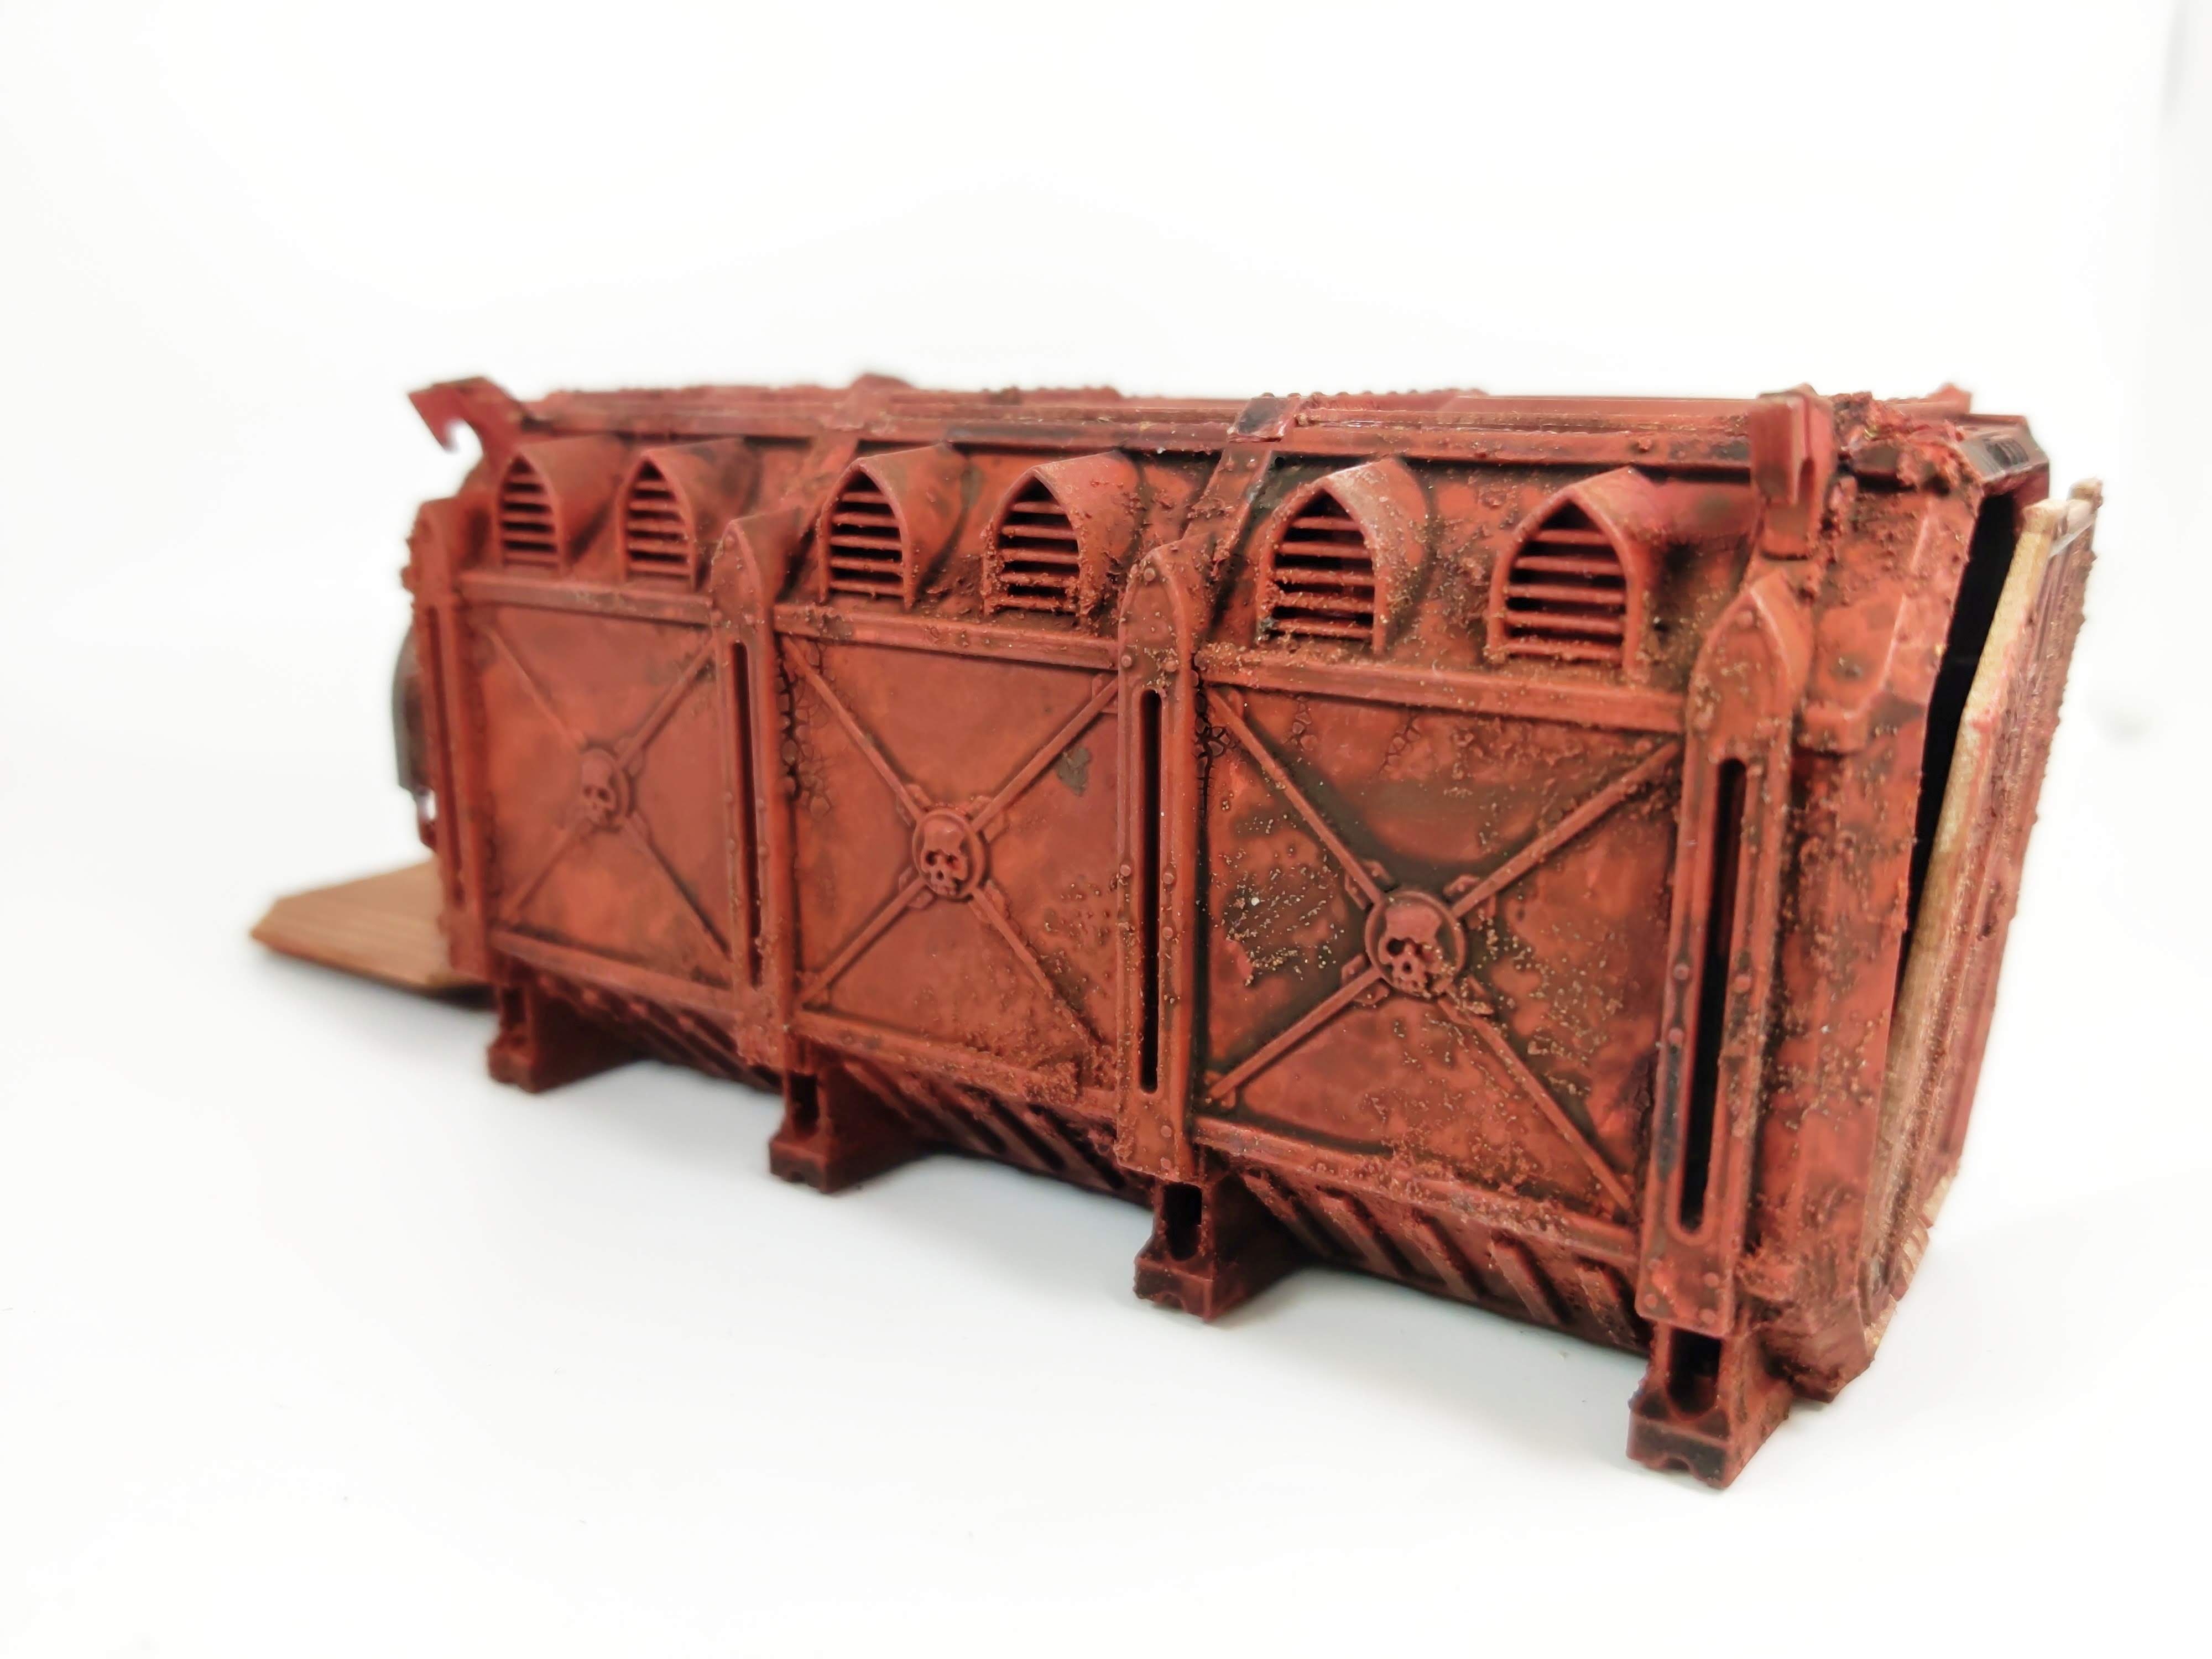
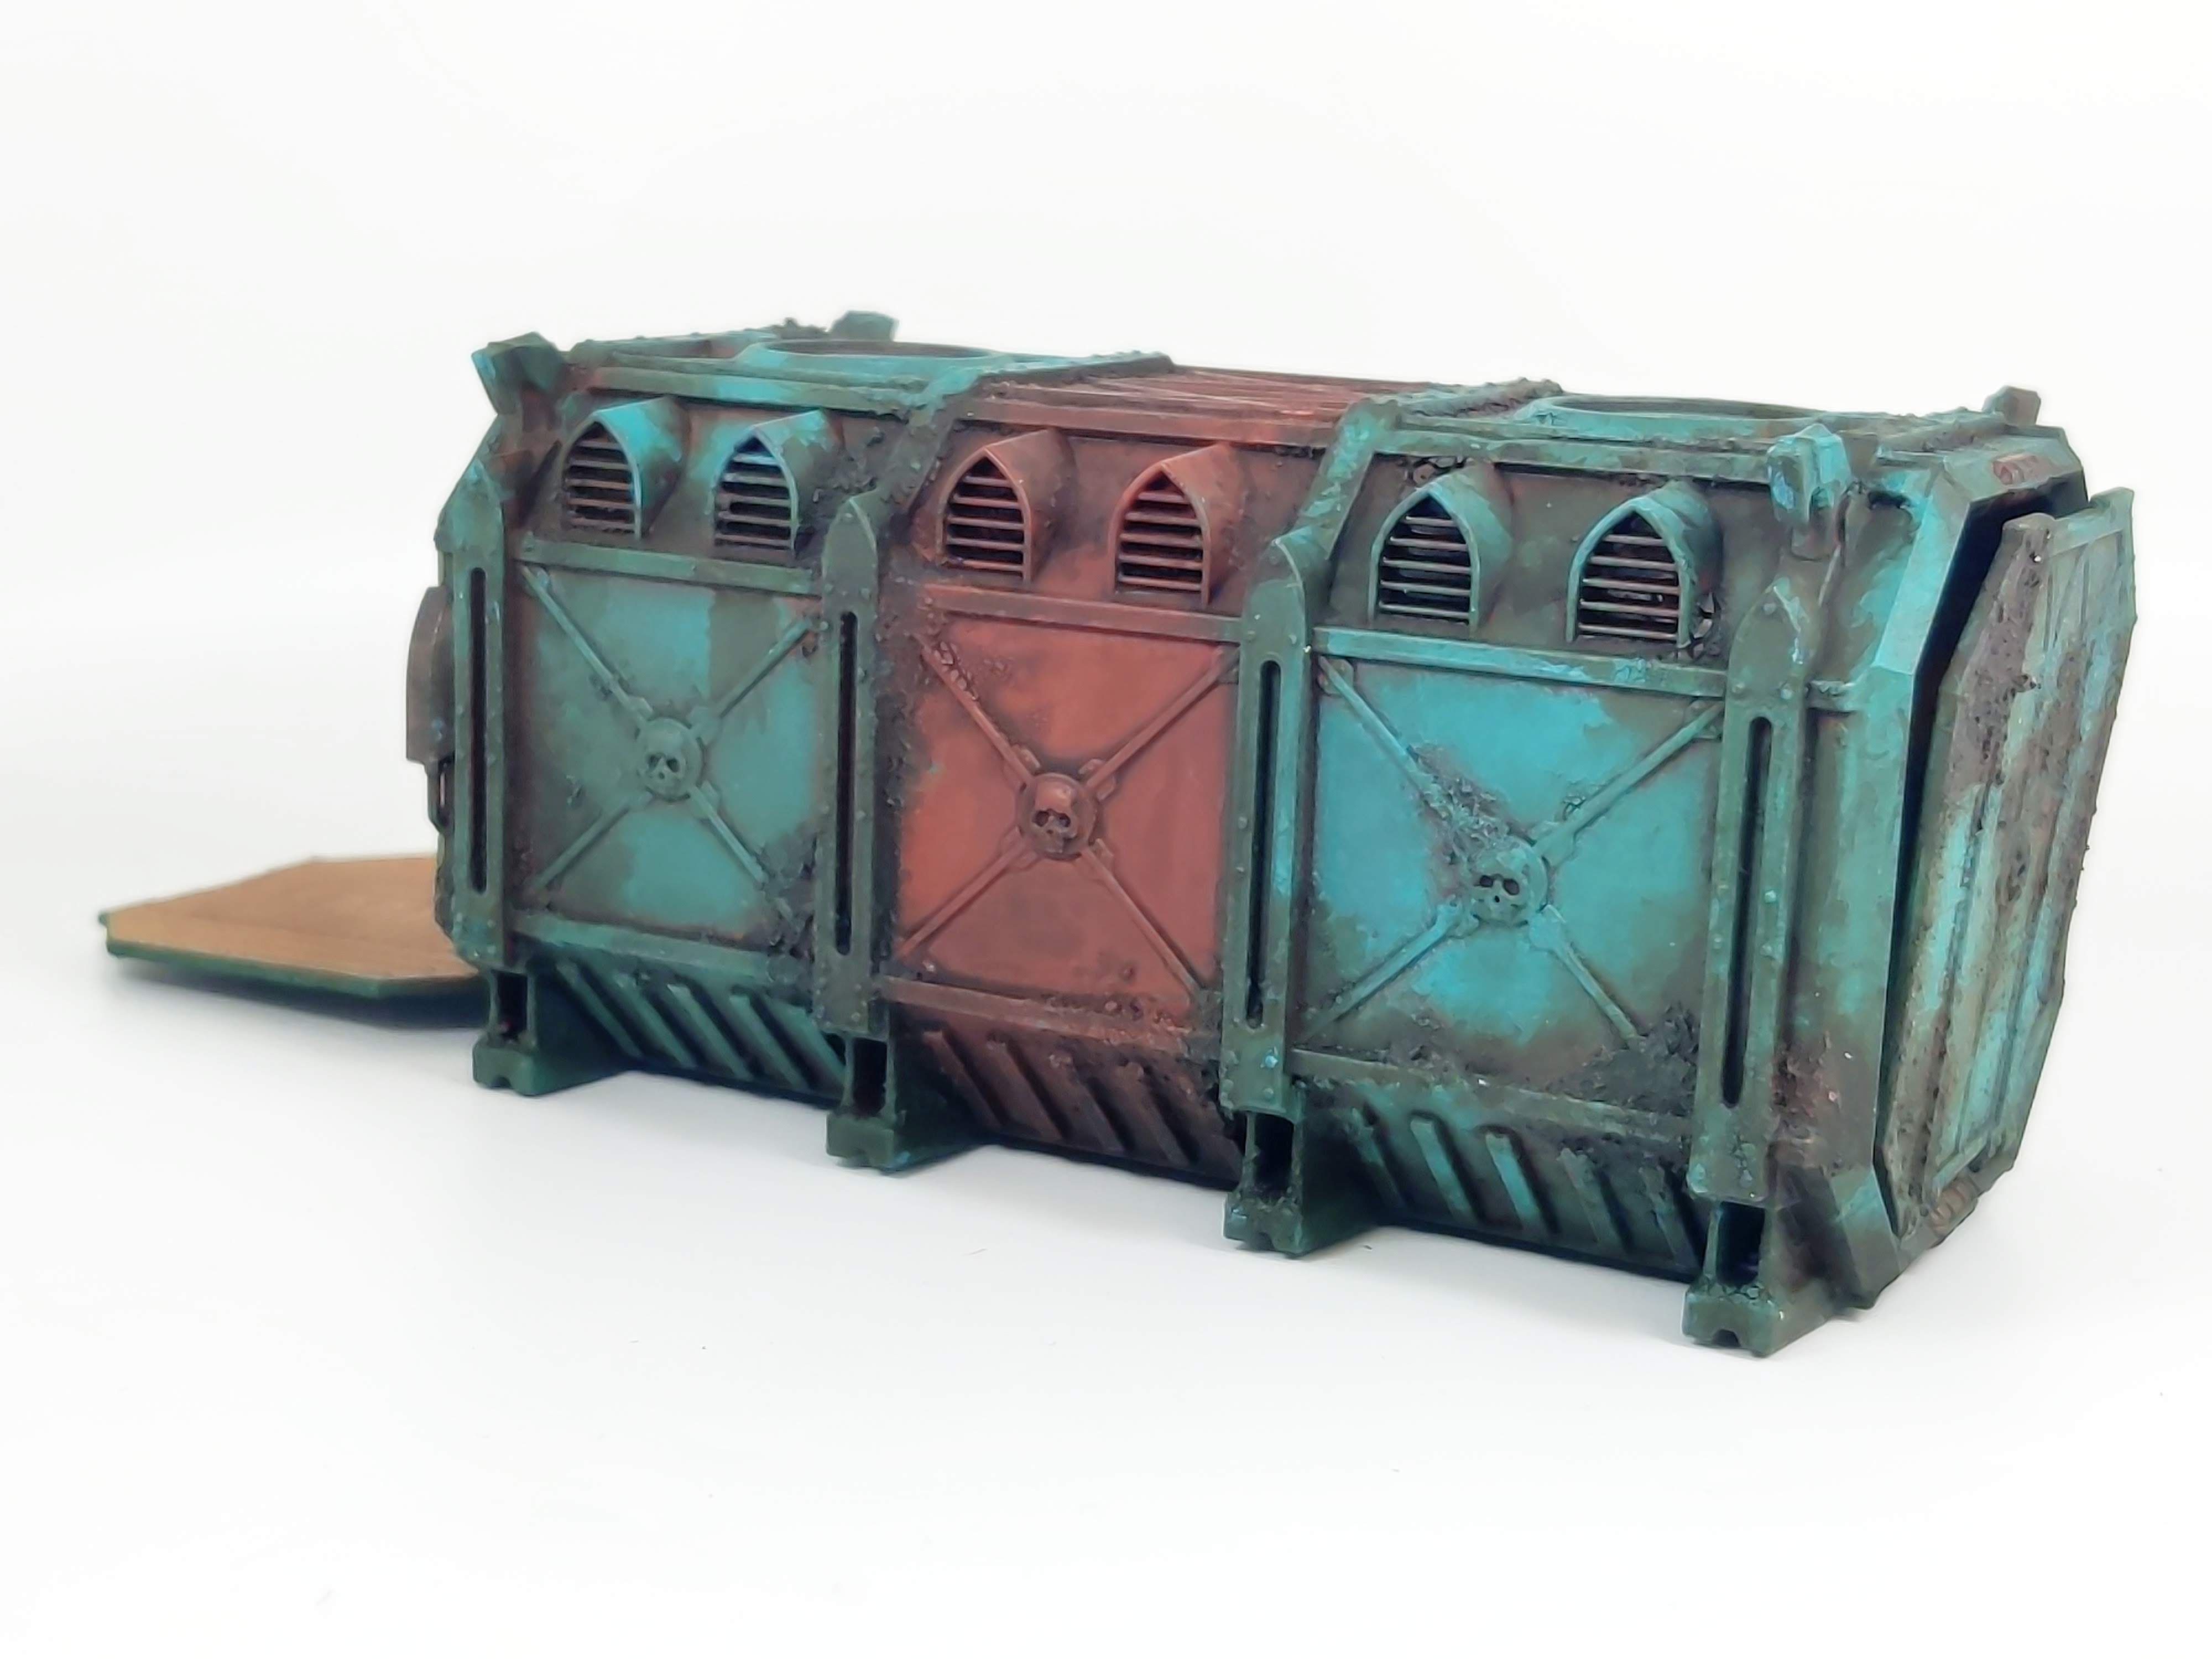
Afternoon #warmongers and #warhammercommunity I've been #paintingwarhammer Manufactorum Containers. Having varnished the yellow and black container I thought I'd continue with an easy red one.
It's effectively just the same as my Imperial Knights, but also a preparation for more of my building colour scheme.
It's just some Vermillion art acrylic drybushed highlights. Trying to keep out of the corroded areas.
It was very easy but it does make me question adding orange rust in the corroded areas as currently the contrast is working really well and I don't want to muddy things up, so to speak.
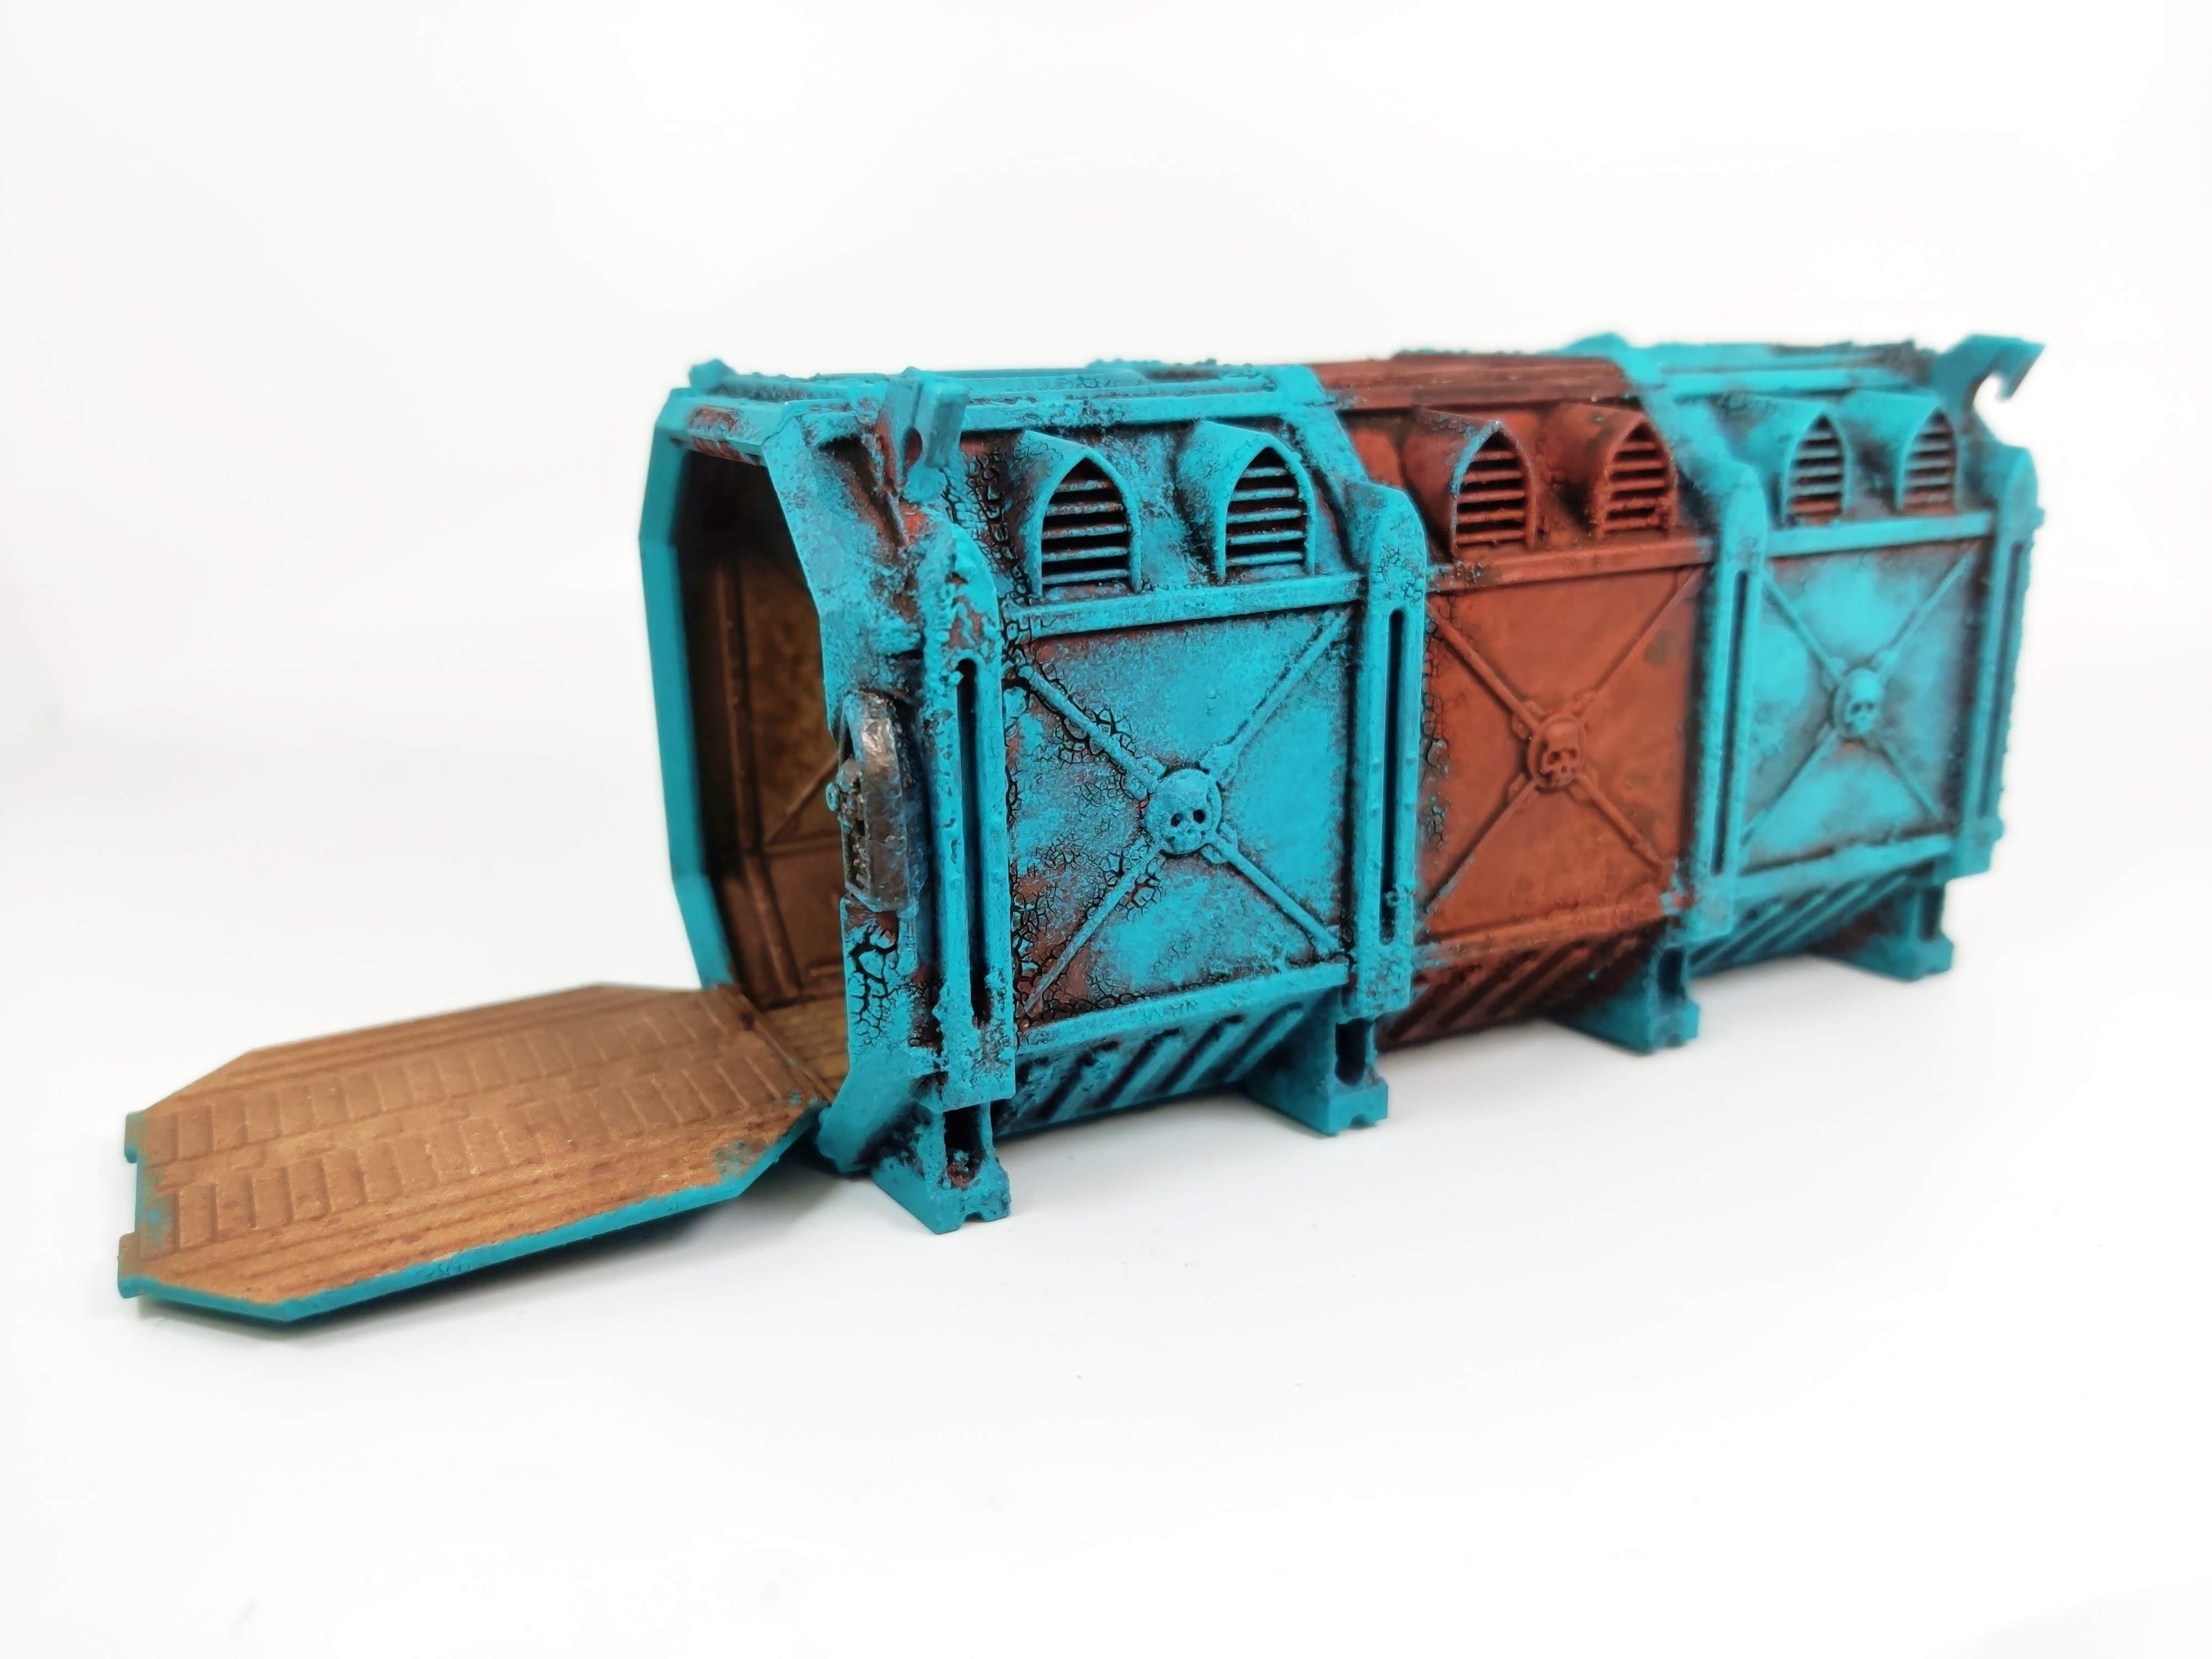
I went through some debate with myself on whether the centre stripe would be Stonewall Grey or Bonewhite.
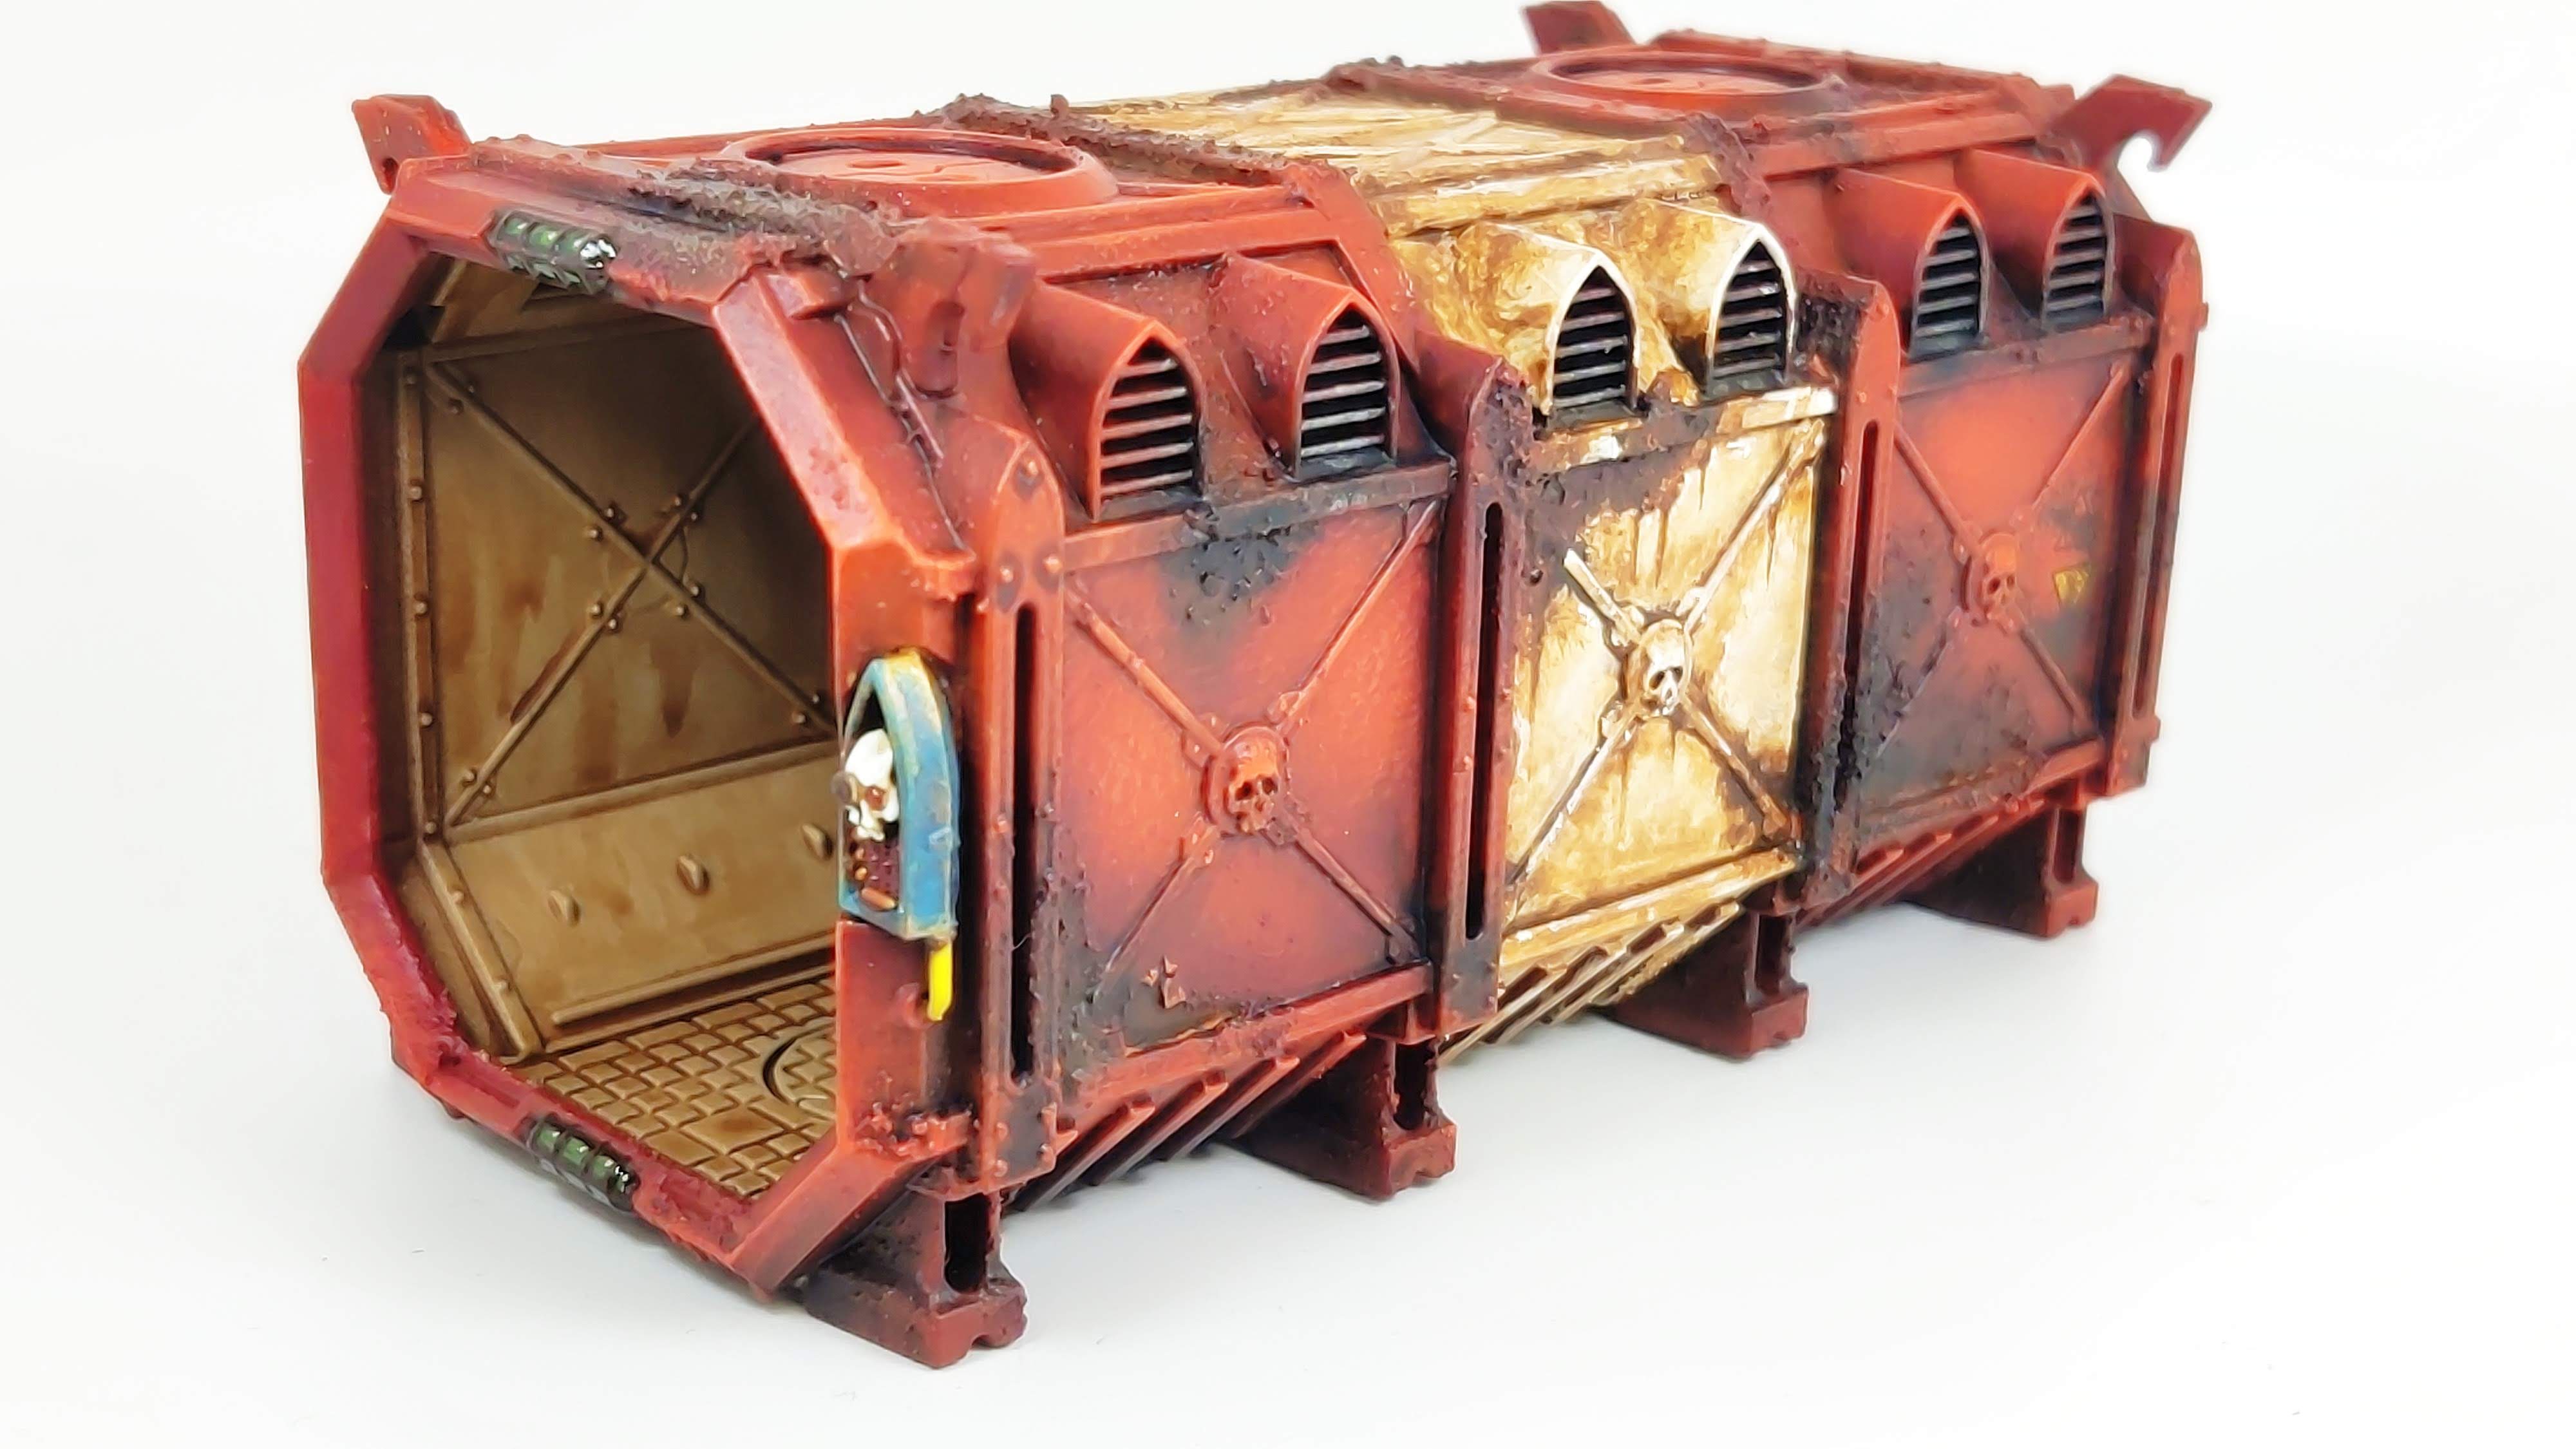
But you can see I decided to paint the inside Bonewhite. I masked off the outer and used my Army Painter Skeleton Bone spray on the inside. Naturally I wasn't too fussed about getting all the way to the back as it would be darker.
I then thinned down some of my Burnt Umber art acrylic with Lahmian Medium and it mad a great wash. I think it's sufficient not to even require any further highlights inside.
But that decision meant the centre stripe would be bone, to match the inner.
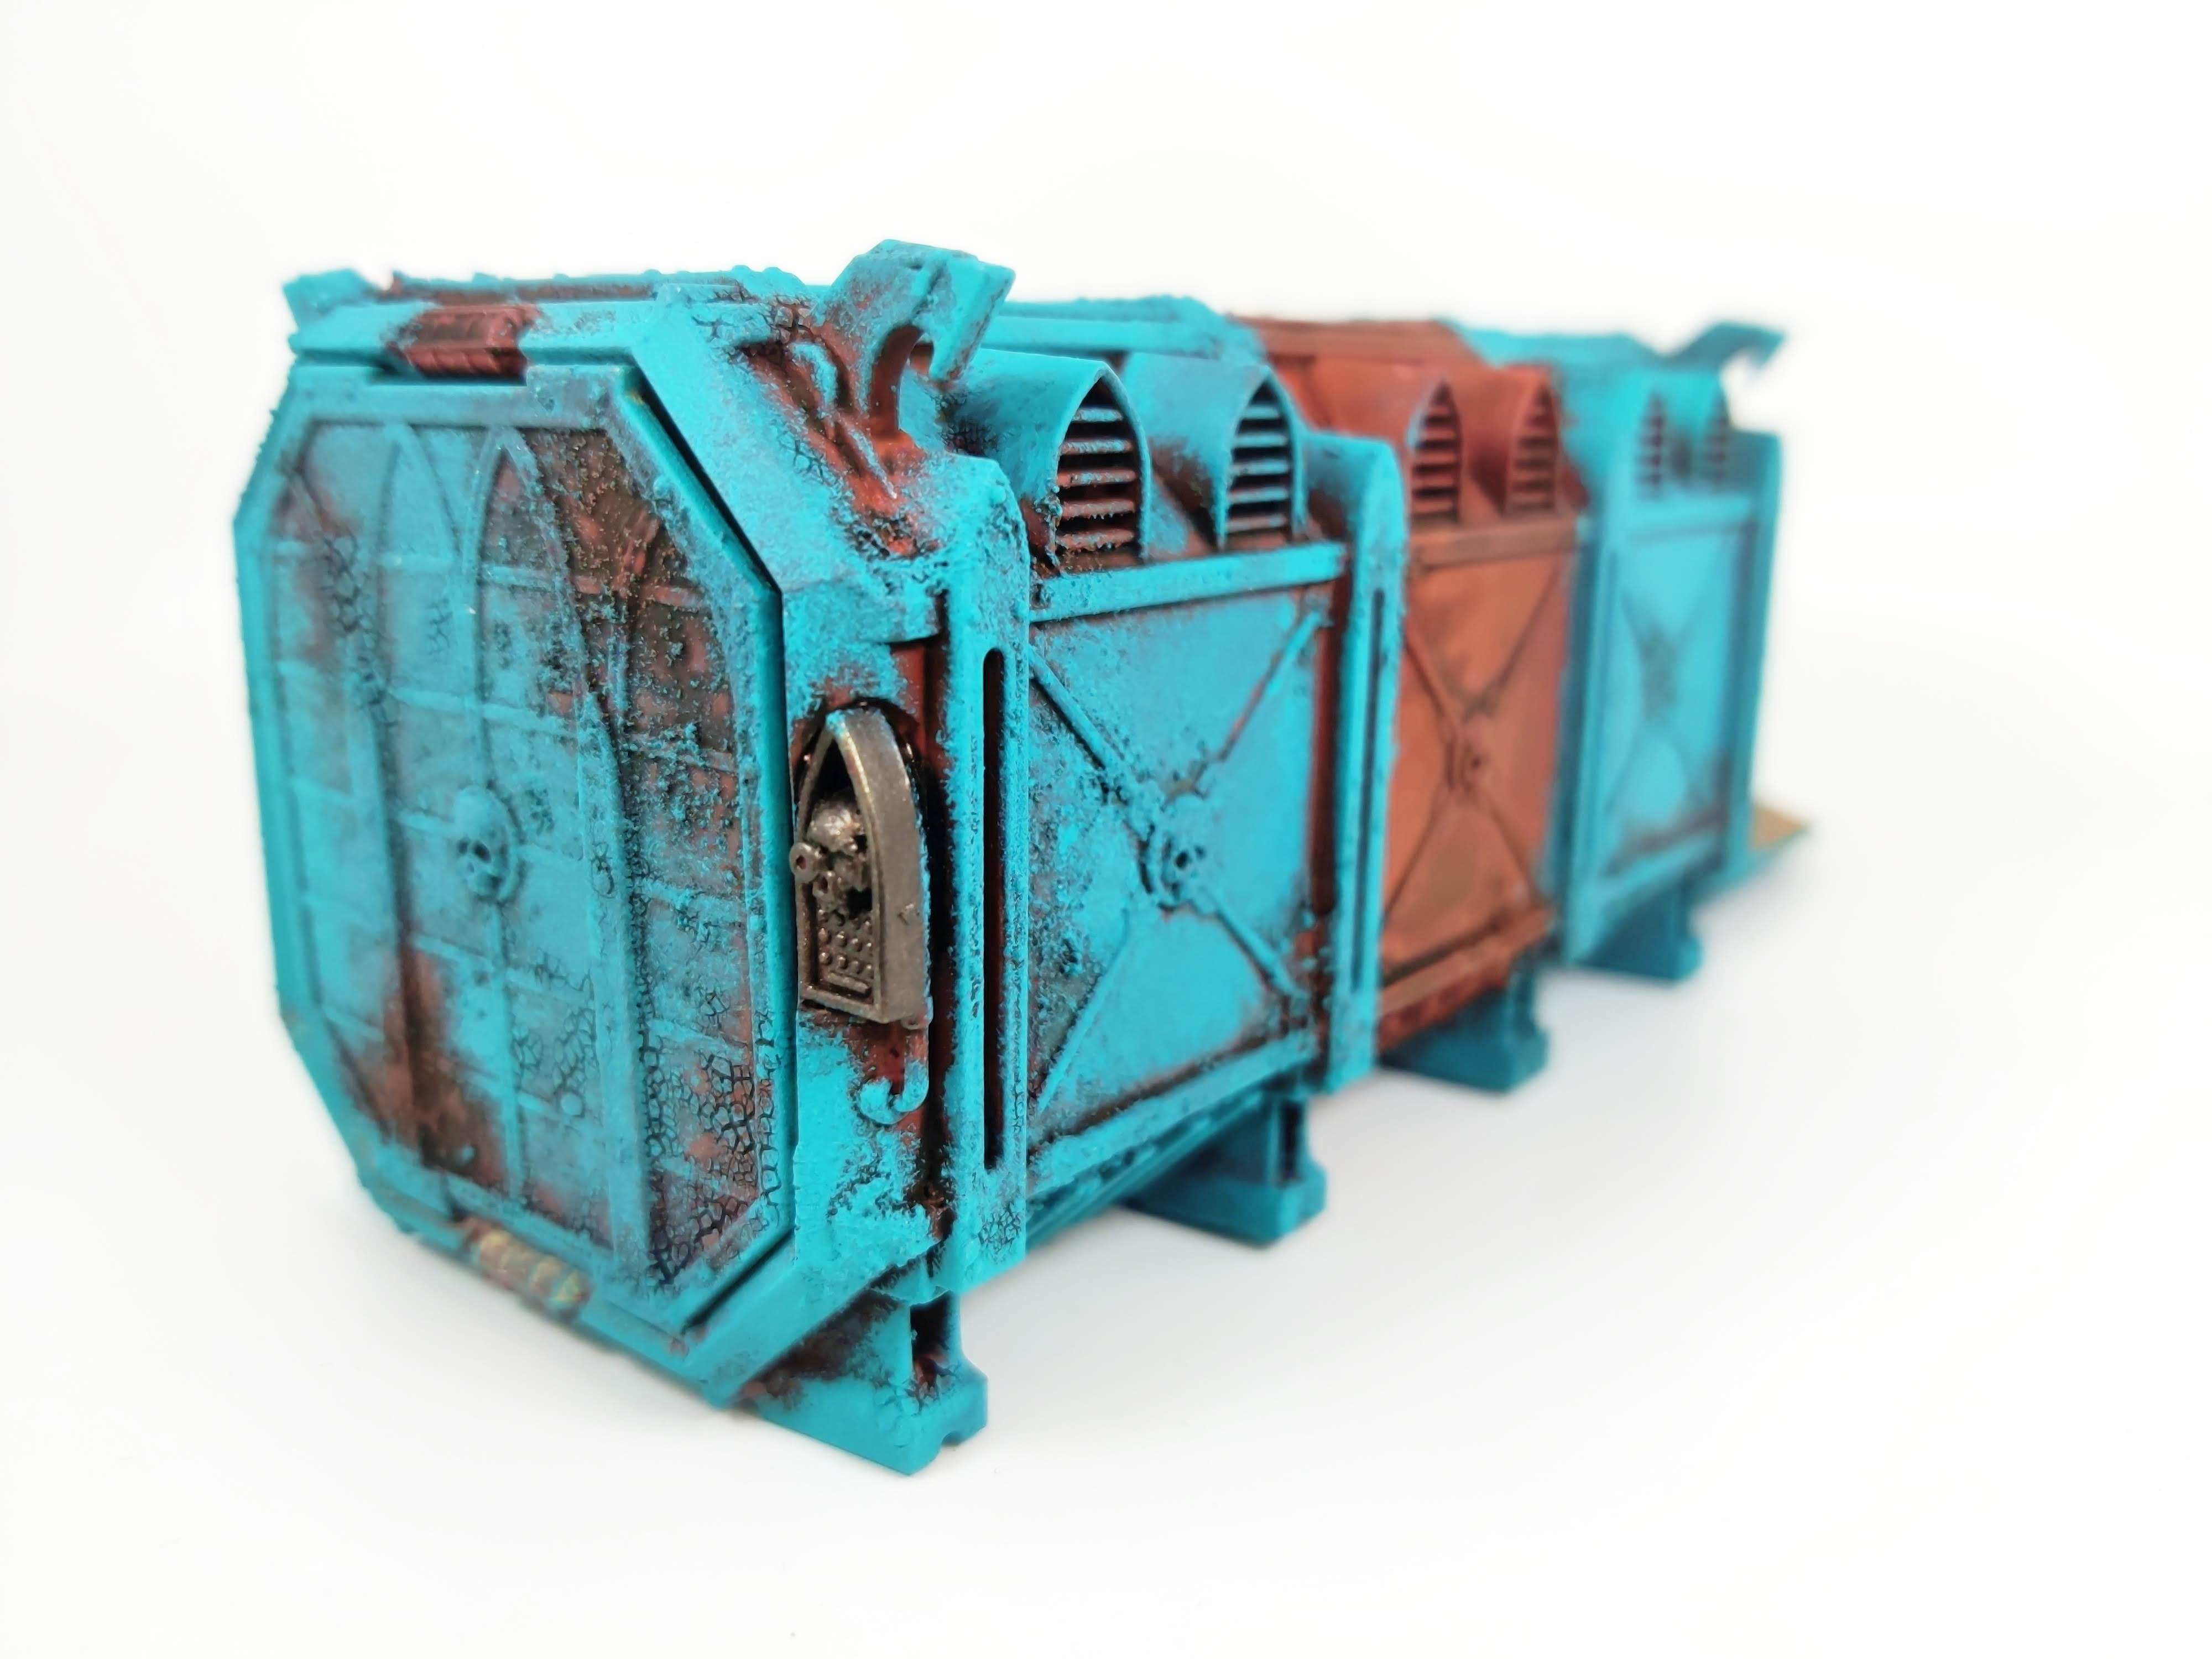
Burnt Umber splodges and mottling were used to add texture and weathering, I love this paint.
Again, it works really well with the darker rust, so I worry a bit about potentially adding any orange that might dilute the effect so far.
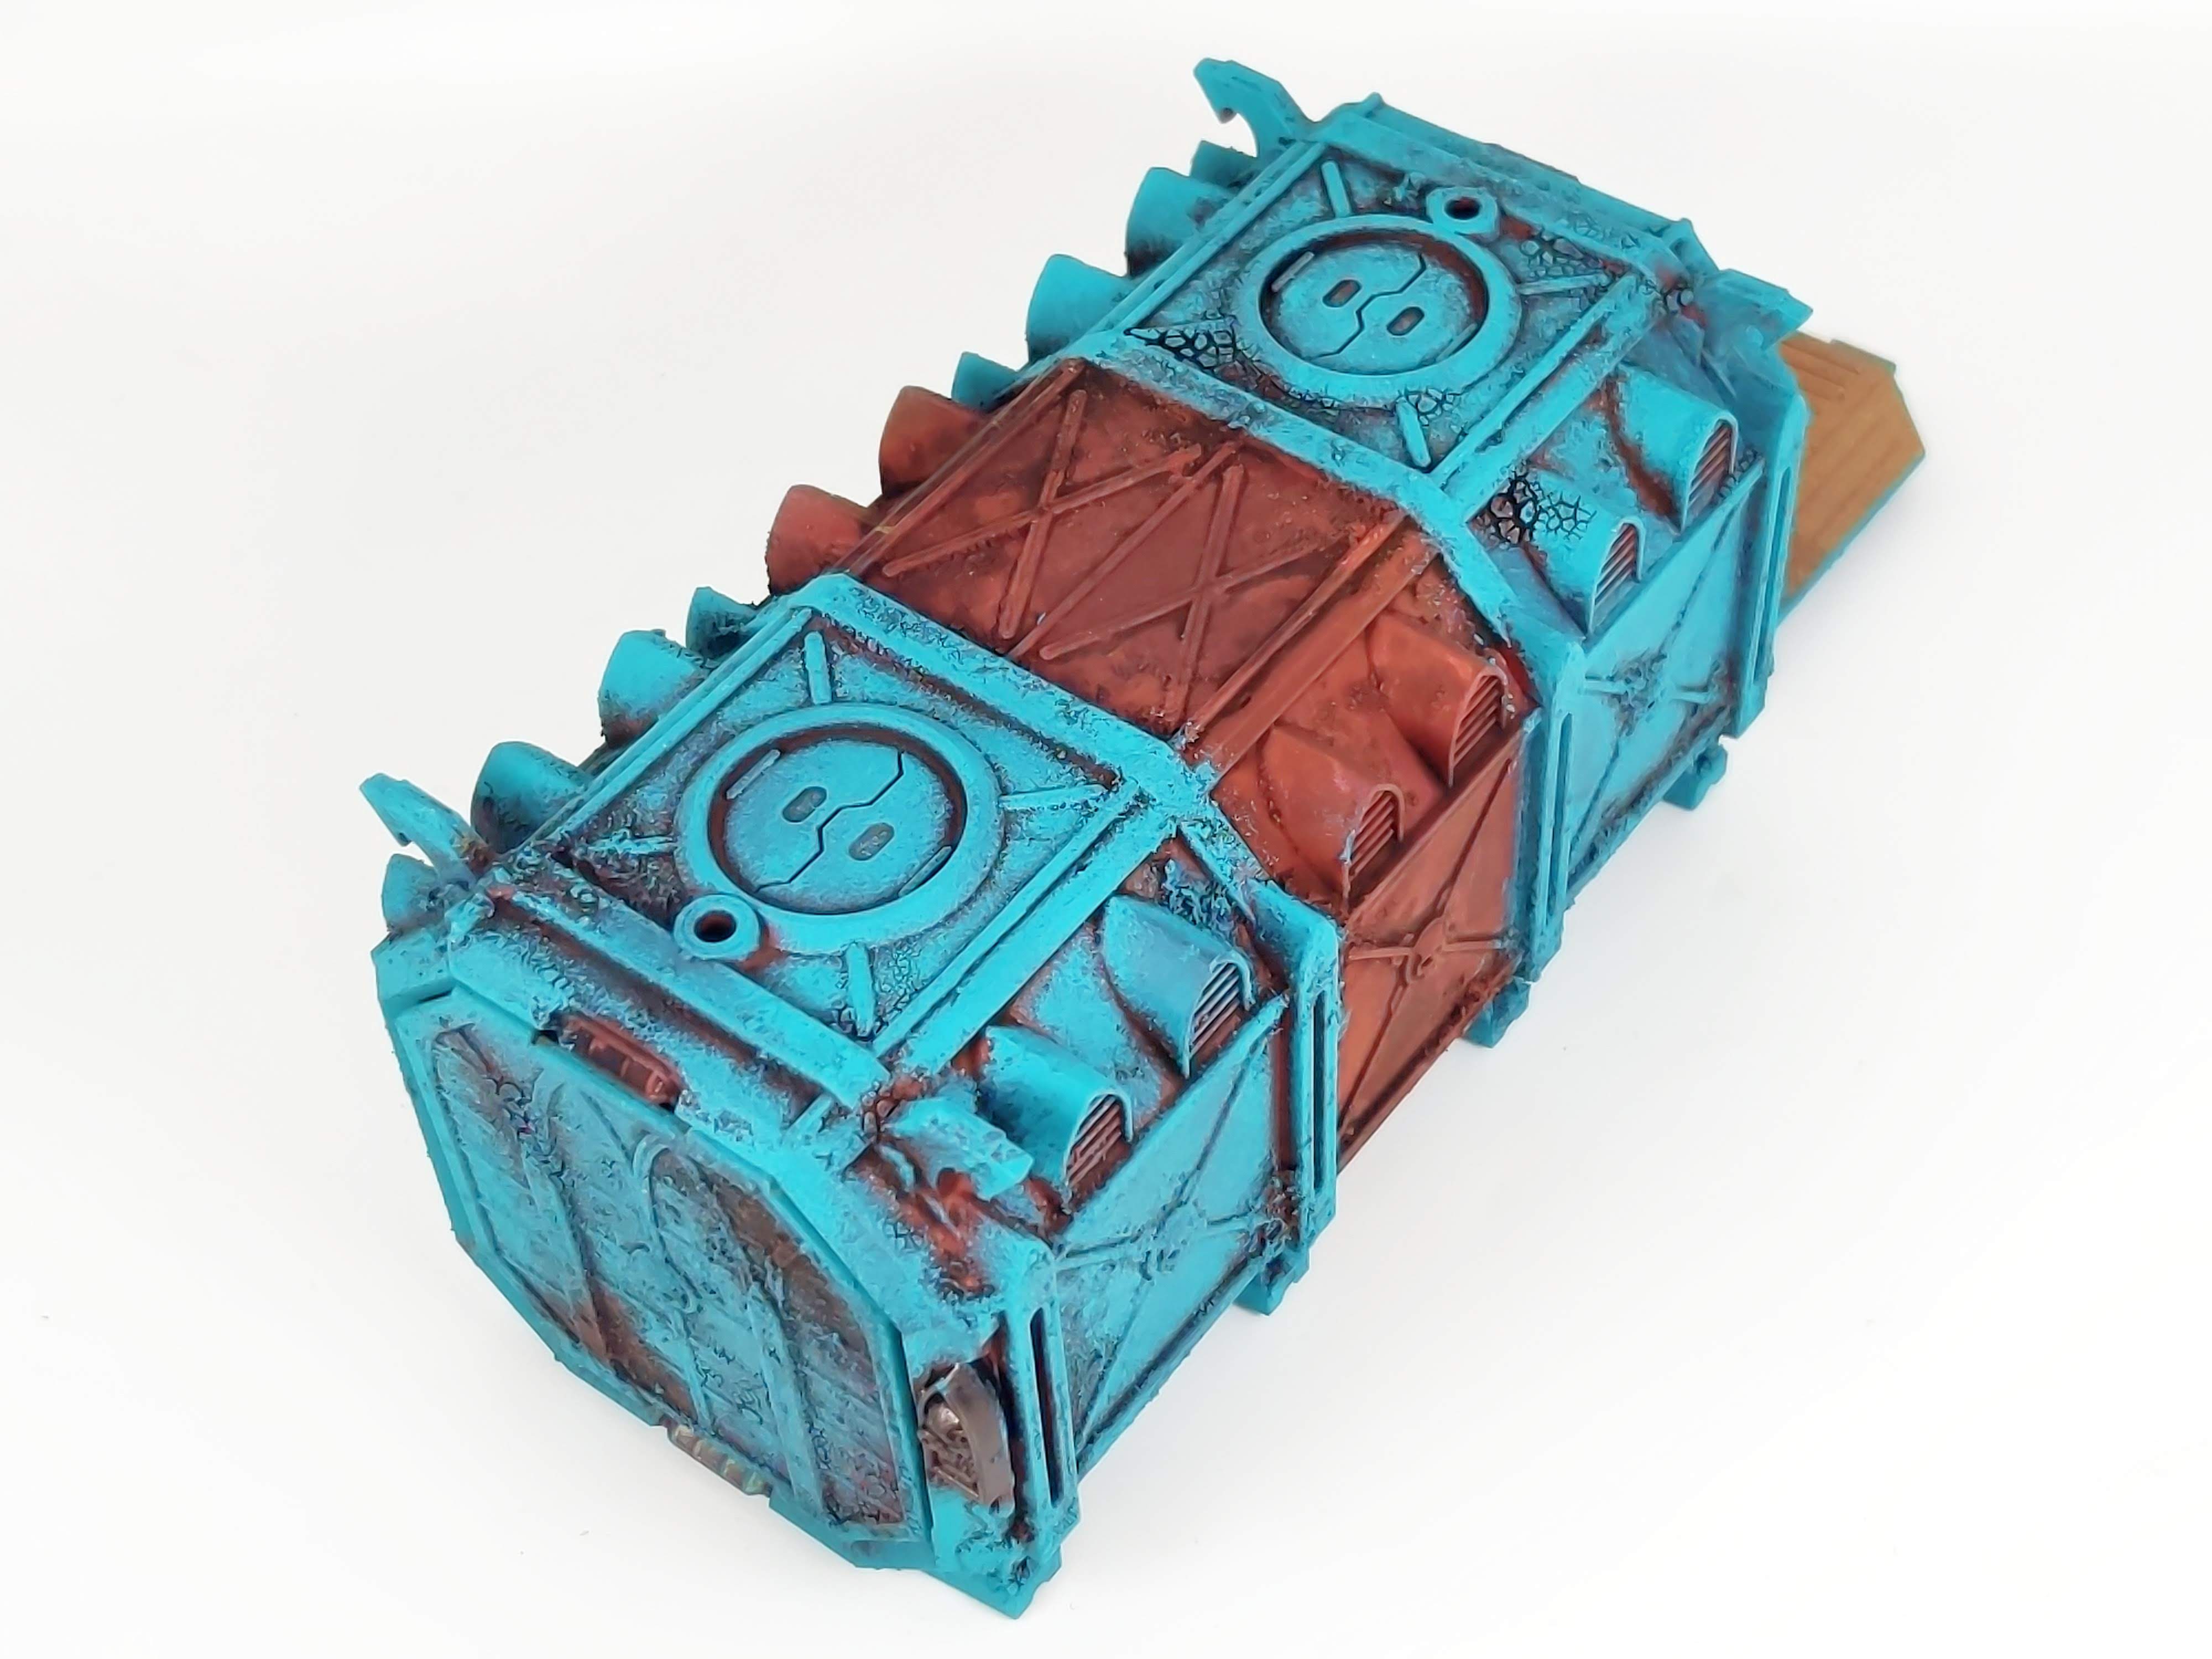
And I added a BIG flippin' number.
Proof , once again, that BIG flippin' numbers make everything cooler.
I had a spare stencil from my own
Future Containers which worked OK stippled on and then I neatened it up with the brush, again avoiding some of the rust.
The bone worked so well with the rust I have begun to question whether my white and orange container should be bone and orange.
So at this stage I decided to pause a little bit.
This was to give me time to think things through on how to progress my two remaining containers. In the mean time I looked a bit at some of my other buildings. I'd done a bit on my Sector Imperialis terrain as it was effectively the same colours as here but decided to move my TT combat terrain forward so I can address some of it's remaining colour choices..