Sunday 10 August 2014

Dark Angels - Mo' missiles - Devastator squad missile launchers

I'm actually really enjoying getting on with some Dark Angel action. What's amazing is that I may well have 1,500pts done soon, after all my current units and the Aegis are complete. It won't be a competitive list by any stretch of the imagination [they're DA, do they do competitive lists?] but it will be a list nontheless.

My Devastator Missile launchers. These are the Forgeworld Legion ones, well actually two are the original ones from the Legion Special Weapons Pack, these are really poor casts, particularly around the targetting lens, the bottom right one is one of these. Alternatively is the Legion Missile Launchers these are a better cast with slightly different tagetting lens. I'd recommend these if you have a choice and need five [I mentioned to get the two I needed from a bits site]


I've Tin Bitz'ed all of these and then mixed some gold to make a brass colour. A couple of elements are silver but I've kept that to a minimum. Everything has been washed with Devlan Mud equivalent. Missiles will be orange, if I'm honest they look a bit rubbish but the very poor cast doesn't help so I'll just live with it.


Here's the Verdigris wash. Once again I have some legitimate fluff why such weapons have been left to tarnish, then again Dark Angels are fond of Plasma weaponry which routinely blows up so letting your guns get a little weather worn is no different. When I get chance I'll reveal they are patinated so, I need to create a photo-composite to set the scene first though.


Unlike the Librarian's armour this has worked really well though, it's no perfect by any stretch but it's effective and having stuck them onto the Devastators they look really good [if a little oversized on the Rogue Trader models].

Next up I'll be painting the DA green on the Devs. I'll either run through the Tactical squad, possibly painting 2 or 3 a night any more and I'lll go mad they're even more monotonous than a Termagant. Or, I may start the second set of highlights on the Devs so they can be ready for next level detail - company insignia, litany scripts and any other interesting item - studs on the shoulder guards etc.

Meanwhile Armies on Parade is in stasis at the moment. I need a large wire brush attachment for my Dremel-alike and some more coving adhesive and then I can go the next step...

Saturday 9 August 2014

Aah flip - best laid plans and all that.


I may have mentioned the other day that we are planning on some building work in our little house. We're going to have a loft conversion, something we've been dreaming of since we moved in of 15 years ago. We'll finally have a room each for both of the boys and I'll be getting an ensuite shower and bathroom instead of the shower unit in the bath I currently have. The situation was that the builder, who we chose for his insistence he only works on one job at a time so he doesn't disappear off on another job as it's too much hassle, has suddenly got a gap to fit us in. So instead of November/December or sometime in 2015 when the weather will be awful and when we'll be going through the festive nonsense we actually get to start it on the 18th of August!

What's this got to do with the price of finecast? Well it means I'm going to have to be a bit hands on in the old DiY department, making sure there's room in the garage for a start, right where I was going to be constructing my AoP board. Even with the six week schedule it'll mean only a few weeks after it's complete to get the board done before Parade day so I'm not sure if it'll be possible. I'll no doubt be decorating our new bedrooms in those weeks too, so that makes hobby time unlikely.

I will however get to spend some time at home to oversee operations so I may well be able to try and get stuff done while that's going on, who knows? I'll do my best to fit things in but with all that's going to happen - we're tearing our house apart afterall, I'm afraid I can't guarantee I'll get it all done :(


Friday 8 August 2014

Dark Angels - Mo' plasma - Dark Vengeance Tactical Squad

With 'not a Pyrovore' and the beginnings or my Armies on Parade board one would assume I was neglecting the Fallen, but not so! Despite my historical problems with Dark Angel green I have progressed with these, although not actually tackling the green yet. Sadly I did not record the pre-verdigris metallics but I don't think I've cocked up like I did with the Librarian - less is more I think.


And you can see I 'has' Plasma! This is just the first stage, with some slight Object Source Lighting. I'm slightly concernd it may be construed as rust but the next set of highlights should alleviate this. Three choices for the cloack:
  1. Bonewhite
  2. Red
  3. Black [really don't think this one]
So if you could state preference, number 1 is easiest, number 2 ties in with my new Dark Vengeance Terminators.


Got to be careful of that back pack dagger, it's already been bent out of shape once.


Plasma Gun looks rusty at the muzzle so definitely more highlights needed.


Plasma leakage on the power cable means more highlights on the Cannon too.


Need to sort the gun out, it could be fine as it is, for an 'at rest' but I know that next step is necessary for an 'I'm about to plasma yo a$$' stance.


Back of the power pack has more Plasma leakage.


And the other six dudes that make up the squad, be amazed at the variety of poses. I've been critical of the standard marines in Dark Vengeance, the detail is excellent, the variety less so.


So I added some extra Dark Angel and marine bits for variety.


Some handy bayonets,


MOAR Bayonets


But as you can see there isn't much you can do, thankfully when I combat squad them they should look less... cloned?


Typically its at this point I doubt I should have added the super white highlights on the plasma. Don't get me wrong, they're effective and on the money but maybe a bit much, particularaly on the Sergeant.


Due to the camera enhancement filter on my phone it does make these considerably more glowy than they may be in real life. Those muzzle vents do look suitably white hot though.


Positively super hot here.


The Plasma Pistol does look cool, erm hot, but maybe I could have toned down the white on the coil.


From the other side.


And the Plasma Cannon, possibly works the best with the added higlights, less rusty because of it.


I love the back pack glow too.


And all three together from the top


So I need to do the eye lenses, and greens next, then just all the fiddly little bits like grenades, purity seals, ammo pouches, company insignia, Chapter badge and then fun with litany script. Lots still to do but I'm feeling positive as much of these elements can also be done on the five Devastators too, I just need to Verdigris them to be concurrentwith the Tactical squad.

Wednesday 6 August 2014

'nids part 150 - TO DONE! - Not a Pyrovore

The not a Pyrovore Biovore proxy is complete and here he is alongside his true Biovore sibling. Can you believe they've tried to model the Biovore three times and still not got it right?! You'd have thought this would have turned up in plastic by now. In truth the Pyrovore looks a lot nicer but as we know the rules are rubbish and both are quite difficult to get hold of so we make do and mend.


Still surprised how quick and easy this was to paint.


It actually turned into a completely pleasant experience, although there was an element of guilt for not painting Dark Angels but once again repeat the mantra 'go with the flow'!


Now I'll have to find a way to fit them both back in my lists, I've been dropping the second one more and more recently. It's incredibly difficult to get a 1,500pt list together nowadays, I blame Blog Wars and it's generous 1,850pt allowance.


Still, another nid figure will only add to my Armies on Parade board. I'm waiting for some essential components for that before continuing but any extra bioforms will add to the entire spectacle [just so long as I can fit them in around Dark Angel and Parade board progress].

And a top down view in case you need it.


It's also interesting to see how something I painted at the very beginning of the Hive Fleet [although it has been slightly updated in the last 12 months] compares to my most recent effort - a lot darker for one thing.


I may be getting a 50mm base to mount the smaller Biovore on. I'll just glue the 40mm base to the 50mm and then blend the edges in with some Milliput so it looks like it's on a mound.


It is quite a relief though that despite being different models they are believable as the same unit, I guess that's one of the other benefits of nids - it doesn't matter what model you're using it conceivably be appropriate as another bioform of a similar size. Obviously these couldn't be Raveners but I'm sure you could convert a Ravener to bee a Biovore, starting points anyway for crazy kitbashes.


Currently this is the last nid I have in my painting schedule. I've dumped a load of Genestealers in some Dettol, I probably need to get some more as the Dettol has practically become a dilute acrylic sludge thanks to all the models that have been stripped. The Behemoth painted stealers have not been cleaned thoroughly enough so I may Fairy Power Spray them to finish it off.


However, I may do my remaining Ripper bases as my 'side order' of nids. It's not a lot to do and have little impact on my army lists but will look fun on my AoP board to have more than just my four bases. A bit more of a tide of little gribblies is amusing and gives them 'reason to be'. Granted their viability has improved in 7th but right now they have no reason to be in my 1,500pts, certainly not if I'm dropping a proven choice of a 2nd Biovore that would require roughly the same points for an unproven, over-costed, and 'on-paper' lesser unit than some of it's troop contemporaries

Big blue tick for being a naughty boy and painting yet more 'nids, now go do some Dark Angels!

Monday 4 August 2014

A freebie - JINK! and Tervigon Spawn Out markers


With Flying Monstrous Creatures using Jink for their Dive rules now it's become more important for me to keep track of what has Jinked, a couple fo times I've forgotten so it was obvious I'd make a marker to denote who has done what. So here we have eight of them, which should be enough...


Additionally I've also lost track on a couple of occassions to which Tervigon has spawned out so I decided it was high time I created a marker for this event too, six should do here but if you need more I suggest you could print it a couple of times


Just a reminder of my Patented method of constructing your own markers:
  1. Print
  2. Apply double sided tape to back
  3. Stick to mounting card [I use black card which is black all the way through, alternatively a black Sharpie or other marker will make the edges really cool looking]
  4. Carefully apply sellotape to top if you want them pseudo-laminated
  5. Cut out with craft knife/scalpel
  6. Amaze your friends and enemies with these awesome Markers
  7. Tell them to visit www.40kaddict.uk for their own free markers.
Oh, and just in case you weren't aware I've been creating free downloadable 40k markers for a number of years now, they're all available in the FREE DOWNLOADS section, because, that's right THEY'RE FREE. It's nice to see other blogs creating markers too, I'm always supportive of the effort because even if it's the same effect markers I've created, my own designs may not be something you like and someone else's might. So long as you get some use out of them, and I'm still keen to see pics of these in use [I've only seen a couple], I'm happy.

Saturday 2 August 2014

Painting Points System - I've tried to avoid it and think I've succeeded but what the hell!


Random picture to illustrate painting?!

There's a point when you blog, particularly the way I do it where you start drafting a post only to stall part way through writing. This may be because you're waiting for content to mature, to conclude the point of the post or it may be events change the whole purpose of the piece. At that point the post is stuck in limbo, what does one do with it if it never gets the pictures or the content is out-of-date? Well I'm not about to waste the time I spent writing that's for sure.

I wrote this piece about Painting Points systems and I'm a big believer in systems as the great Harry of Hill once said. I'll let you read the piece because you may find some inspiration in it for your own hobby enterprise. Afterwards I'll explain why this is no longer relevant to me, although I think there are some pretty clear indicators throughout


Dale at Realm of Warhammer has been using a Painting Points System for the last couple of years. It helps motivation and as he translates his points into £'s he can reward himself for his efforts. I'd considered this before but I've struggled to keep track of time spent on projects like the Capillary Towers, I really didn't want to add another metric to what I was doing. Additionally I tried keeping up a scoring system on theTyranidHive once but the monthly deadline came and went and I think I didn't quite meet my target and just felt depressed afterwards.


Part of me has begun to warm to the idea though. It's another facet to the addiction and I feel compelled to record what I achieved, apparently the awards aren't enough! Although I kind of like the annual review of my To Do List and it shows up quite a lot of things that have been achieved beyond the list it would be handy to know what those detours were actually worth. So, I may as well give it a try, I'm going to backdate to the beginning, or maybe even the 2012/13 list [a bit harder to work out] here's Dale's points list, in some places I'll have to add my own values in and it's also going to feel weird getting points for the likes of my Dark Angel Tactical Squad because they've been ongoing for 2-3 years but nevermind.
Basic Points: 25mm base = 1 pt.

40mm base = 2 pts.

60mm base = 5 pts.

Monstrous Creature = 10 pts.

Small Vehicle = 15 pts.

Large Vehicle = 20 pts.

Flyer = 25 pts.

Terrain Feature = 10 - 20 pts.

Superheavy Tank / Flyer = 40 - 50 pts. (depending on size)

Titan = 60 pts. + 20 pts for each weapon.


Bonus Points: Character + 2 pts.

Extra Options + 0.5 pts. per option.

Based Model + 0.5 pts. per model.

New Technique Attempted + 5 pts. (one-time bonus)

Transfers / Unit Markings + 1 pt. per unit.

Weathering (Battle Damage) + 1 pt. per unit.

Weathering (Dirt and Grime) + 1 pt. per unit.

Gore (blood and guts etc.) + 1pt. per unit.


Completed Unit + 2 pts. per unit.
Additionally I think I need to add modelling points in. I do a lot of scratchbuilding obviously. For instance lets just try and work out the cost of my Skyshield, is it a 10-20pt Terrain feature, is it two [capillary towers and landing pad]? It's certainly bigger than a Superheavy Tank so lets say 40pts to paint, each tower is based so that's another 3 points. Gore and blood everywhere [6 towers, 6 walls and the pad 13 pts]. Gloss varnish on the digestion bases, another 3 pts and a completed unit 2 pts. That gives 61 pts for painting, but what of the making? How do I measure the 24+ hours construction of the towers alone? Multiply the final number by 2?


What about kitbashes, what value should they take? Again do I double the points or do I have a scale 0.5 for a weapon/arm/head swap 1pt for a considerable kitbash? Magnetizing too - that should be valued. You see this is why I didn't want to do this...


I thought long and hard about this and came to the conclusion it was just too complicated a system for what constitutes my hobby activities. Indeed I thought I'd probably spend more time trying to keep score than actually getting work done. If I'm taking shortcuts with my WiP photographs then I don't really have the time to spend totting up what 10 bases, with flock added and blood effects on half.


I realise that if I was going to undertake such a measure it would have had to have been using my own points system with a point per single model, and extra point for kitbashing and then various multiples of points depending if it was on a 40mm base or bigger. But I still couldn't reconcile the cost/value of something like the Bastion, or the Capillary Towers so in the end I thought it better to just leave it be. Maybe this example will illustrate what I mean:
  •  I completed making and painting my Skyshield Landing Pad, this would be a Terrain Feature worth 20pts +1pt for blood, so 21pts total.
  • I painted 20 Termagants for 20pts, +10 for the bases, +4 points for completing 2 units and it's debatable whether the glow effect on the toxin sacs are 5pts for 'extra options' or 10pts for a 'gore/weathering' option I would add under FX, but even so it's a minimum of 34pts total.
  • A Tervigon, something I said I would never paint again, 10pts +0.5pts for a base, +0.5pts forextra options +1pt for the glow FX +1pt for the blood and +2pts for completing a unit 15pts total.
So, 20 Termagants is worth more in points than painting the Skyshield? That actually might be true, it was relatively quick, but no way are they worth more than twice the effort put into the Tervigon. And therein lies the problem because I just can't work out what everything is worth and agonising over the value of something is just too much hassle!

I think my annual To Do List review is probably a much better way to measure my progress so I'll leave this post and challenge everyone to consider which system suits them best to chart their progress:
  • a Painting Points System
  • an annual To Do List and review
If you're going to choose the latter then you can start now or join me on the 28th August 2014, which is my next To Do List anniversary, and create your own list for the 2014/15 hobby season.

Thursday 31 July 2014

Red Planet Basing pt2.

Over the course of the last few months I've done a lot of basing of miniatures and thought it was an opportunity to show some the process from start to finish. I've made referrence to my Red Planet Basing tutorial many times but that tutorial didn't feature much in the way of step-by-step so I'd hoped to address that deficiency with a new tutorial. In truth the pictures aren't great but it may yet be of benefit to thos ewishing to replicate the surface of Mars or Ferron Proxima itself.

To complete the process you will need a tube of Vermillion Artists Acrylic [ignore the Yellow Mid] I get mine for Home & Bargain for £1 and it's great stuff.


You will also need a bottle of docrafts Artiste craft acrylic Pumpkin flavoured erm, coloured. You'll also need various washes equivalent to the late great Devlan Mud or Badab Black, I use Army Painters range because it's the same stuff, cheaper, still available and doesn't screw up your miniatures if the batch of 'shade' is deffective.


Now there are two methods to doing these bases that should bring about the same results, heres the first one


This particular group of bike bases is made using my patented mix of 'sharp sand'. This will kill your brushes to paint as it is indeed sharp but I've still got a massive bag in the shed so I sift and graade it for a variety grain sizes. As the bases are separate I sprayed these with Red Oxide car primer.


Because the car primer is darker than starting with Vermillion I wash these with the Devlan Mud equivalent wash. You could try a thinned down paint but we all now washes are the bomb and work better but certainly on a big base or piece of terrain I would opt for a watered paint.


Once the wash is dry you drybrush with the Vermillion.


You then mix Vermillion and Pumpkin 1:1 and drubrush again.


Finally a very light drybrush of Pumkin.

Then you need to pick out individual grains with Bonewhite. Try to look for interesting ones, having a mixed grade of basing material helps here. It's always good to target those grains that are surrounded by more visible shades as the contrast between dark and Bonewhite is more effective. Be very careful not to do too much and make sur ethe individual grains are not too large. You're aiming to make the base more interesting, with a bit of variety not overshadow the model.


This base for 'Pestilence' follows the same principles - Red Oxide


Shadow wash


First highlight Vermillion.


Second highlight Vermillion/Pumpkin 1:1


Add the Bonewhite chips.


Finish off by Mechrite Red [or equivalent - 3 coats of Vallejo Heavy red] and some yellow Autumn Flock from Gale Force 9 [yeah the colours look way different!]


The alternative method of painting is usually when base and model are already attached. In this case you paint the base with Vermillion, sometime adding some water, the craft acrylic is a thick paste. Adding water helps the paint flow into the crevices in the sand, be careful though, adding water may dilute your PVA if it has not dried completely. This will result in a gloopy sandy red mess. Once the Vermillion is dry, usually overnight the proces is the same but the wash will be a Badab Black equivalent. As the base is much brightes you will need a darker wash to tone it down.


Once dry add your Highlights as before and pick out the bonewhite chips.


Add flock, usually in the cracks and crevices. Vegetation will naturally occur in these places and they will likely stick better to the PVA if it's not on open ground. This bit is fiddly but it's worth it.


Pick out any other details on the base, this Hive Node also has gloss varnish applied to the tentacles. it's a small thing, possibly unnoticed by many but I know it's there so it's worth doing.


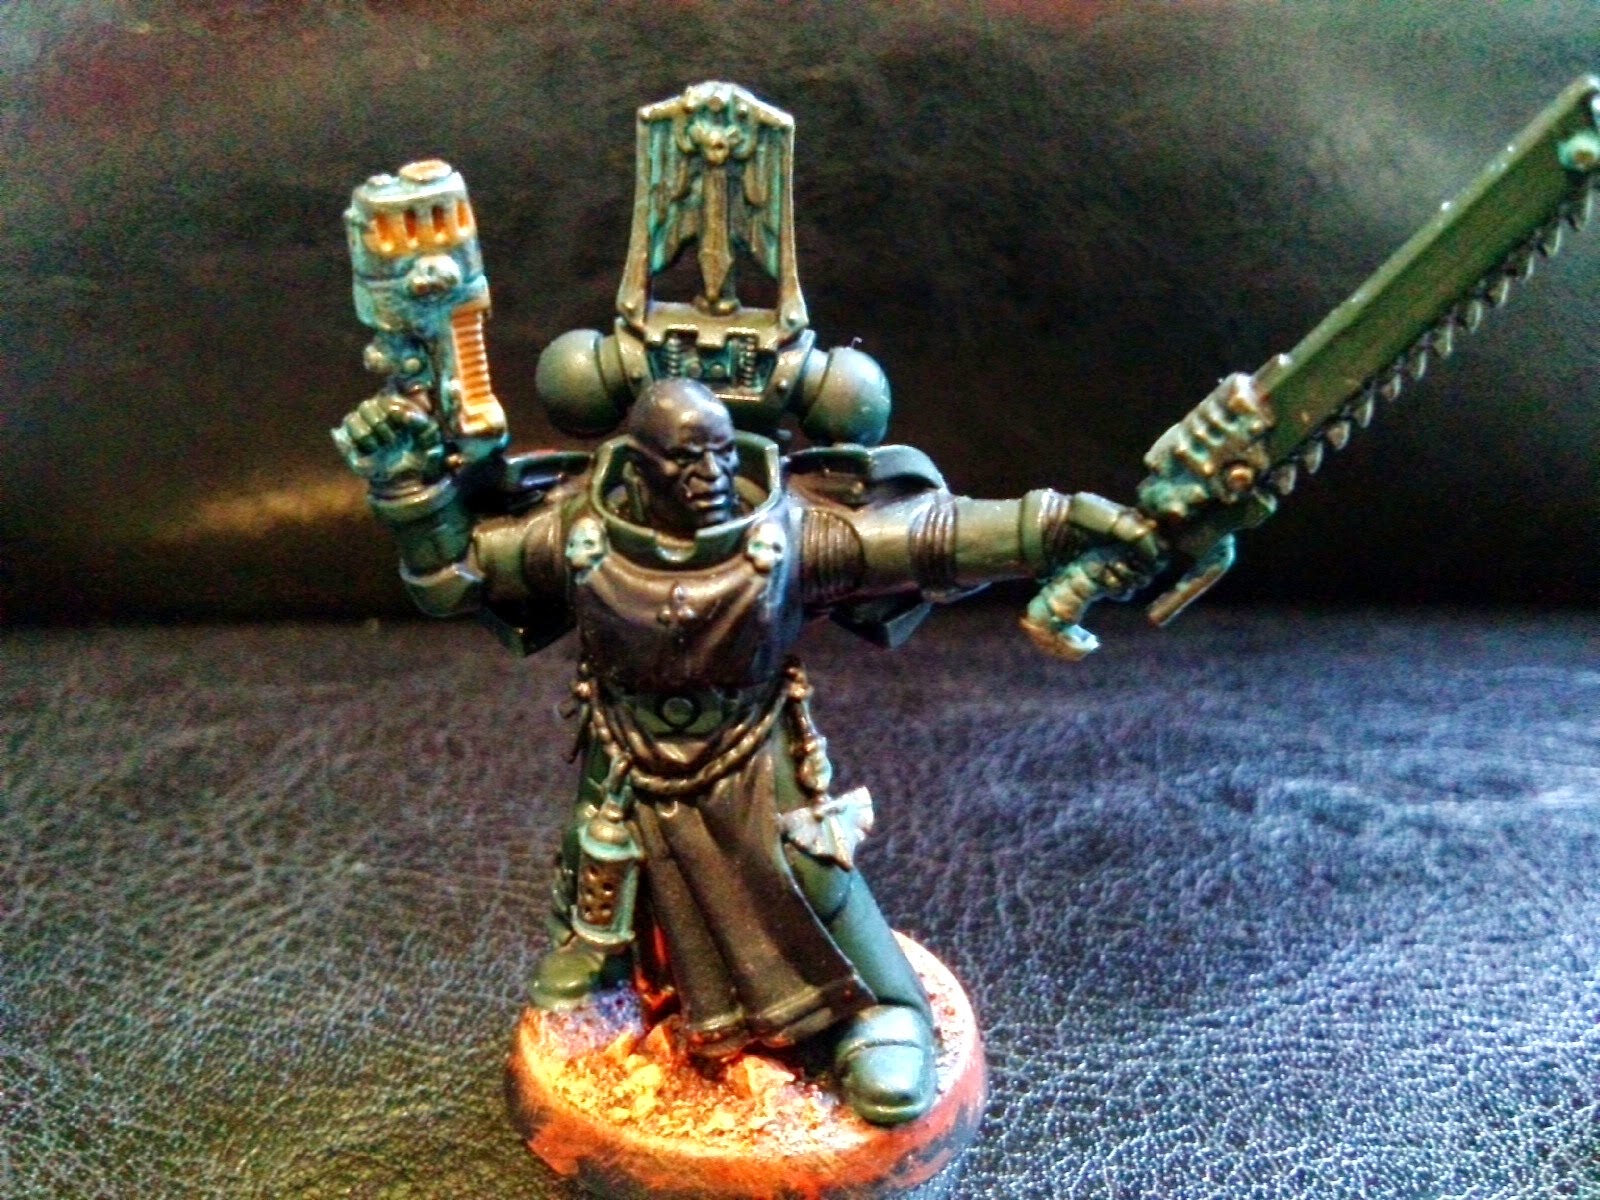
Apologies again for the inconsistent photography. I may well do another set in good lighting with my digital camera so you have an accurate record, but not before I do my Brown Basing guide, that I used on these guys: