Showing posts with label Tau. Show all posts

Friday 2 December 2016

1500pts battle report - Caledonian Highlander 4 - Tyranids v Tau

Day two and I've managed to drop to the bottom table, what's even more shocking is my opponent Sandy Grant has brought Tau! It's not like he's even brought rubbish Tau with two Riptides, three Hammerheads and three Skyrays! How he's ended up on the bottom table is beyond me but I was pretty comfortable in the idea that I was going to lose this game, I mean I was going to try but that Wooden Spoon trophy was close.

Psychic Powers
Winged Tyrant HQTervigon CC TRBroodlord
OnslaughtDominionDominion
The HorrorPsychic ScreamThe Horror
Dominion


The low down:
  • Eternal War missions 1 objective each worth 6VPs
  • Maelstrom mission
  • Dawn of War
  • I think I went second and deployed second again
  • Warlord Trait - 3 enemy units make a pinning test first turn
  • Not sure about night fighting
The forces of the greater good and the great devourer face each other.


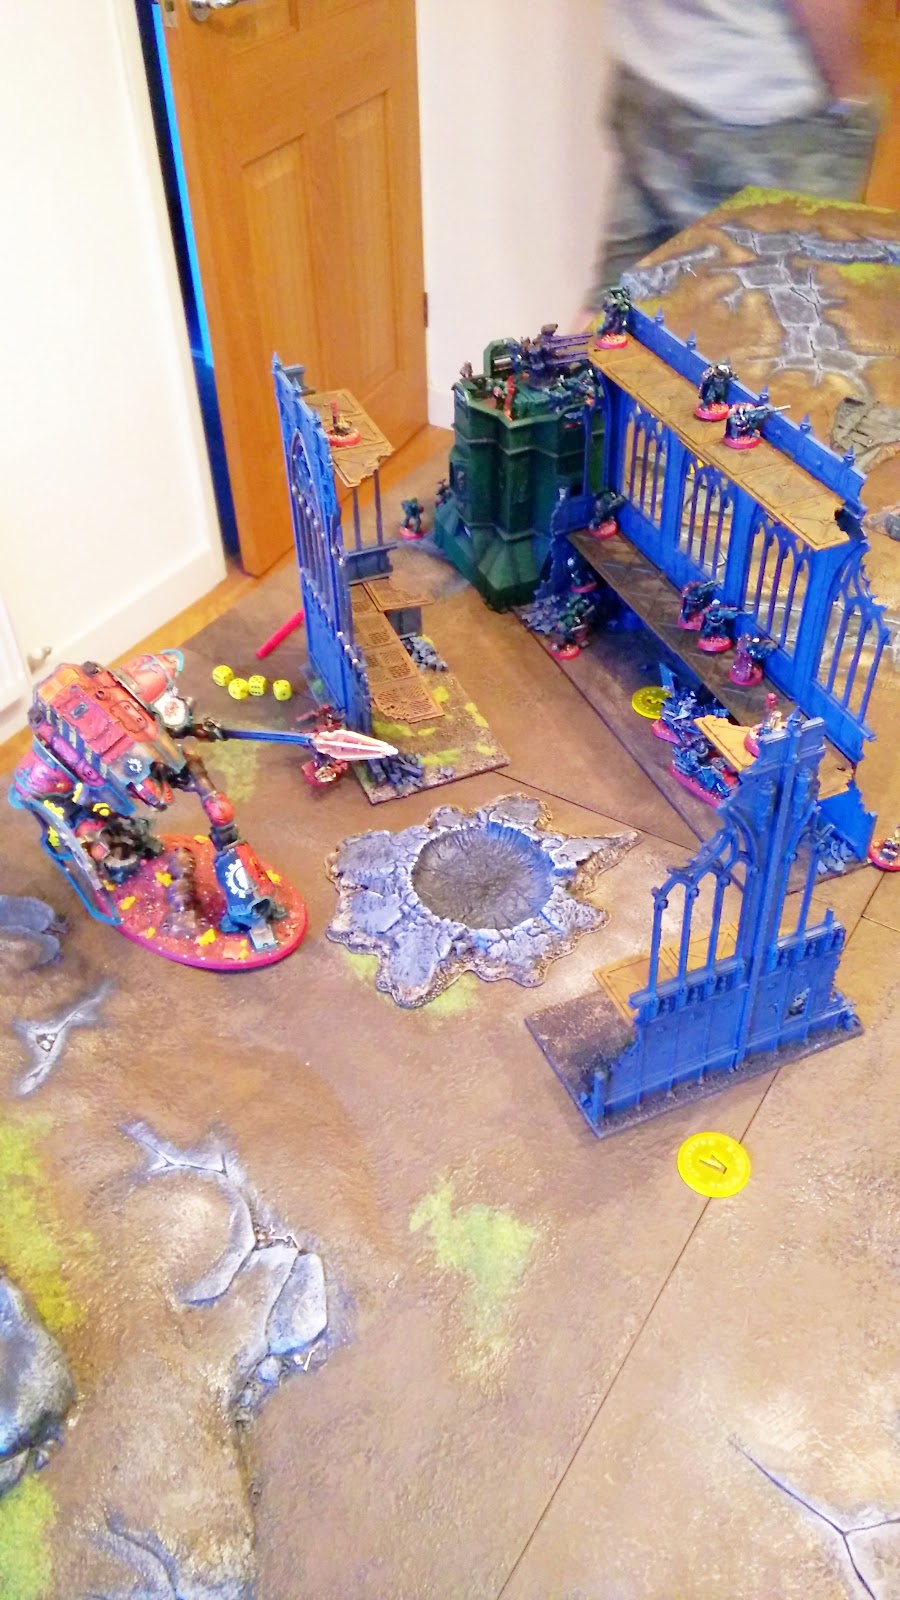
With some Kroot hiding in some ruins.


Sandy's first turn brought about a wound on the Tervigon, I think he also wounded the Tyrannofex as well but for the most part it was pretty ineffective.


In response the swarm surged.


The Flyrant managed to take out a couple of battlesuits but despite the cover on top of the bastion he was wiped out by the combined fire from the Skyrays and marker lights ensuring he couldn't hide. He fell to first blood and slay the warlord.


With the Tyant gone the Malanthrop continued to urge the Tyrannofex and Carnifex forward while the Tervigon remained protecting the Hive.


The Tfex must have killed another Battlesuit, I think his Acid Spray failed but the Stinger Salvo may have succeeded.


The Tyrannocyte landed in the ruins by the Kroot, with the Rippers disembarking to the first floor. Unfortunately only 1 or 2 Kroot fell to the Deathspitters on the spore pod. I knew I had a Maelstom card for objective 5 so killing the Kroot was a must to secure the objective.


Having taken four wounds it didn't require much for Sandy to finish the Tyrannofex off.


For no other reason than the fact I'd struggled tofind somewhere to Infiltrate the Stealers I'd decided to Outflank them, this turn they cam on, rolling the left flank but would they survive to impact the game.


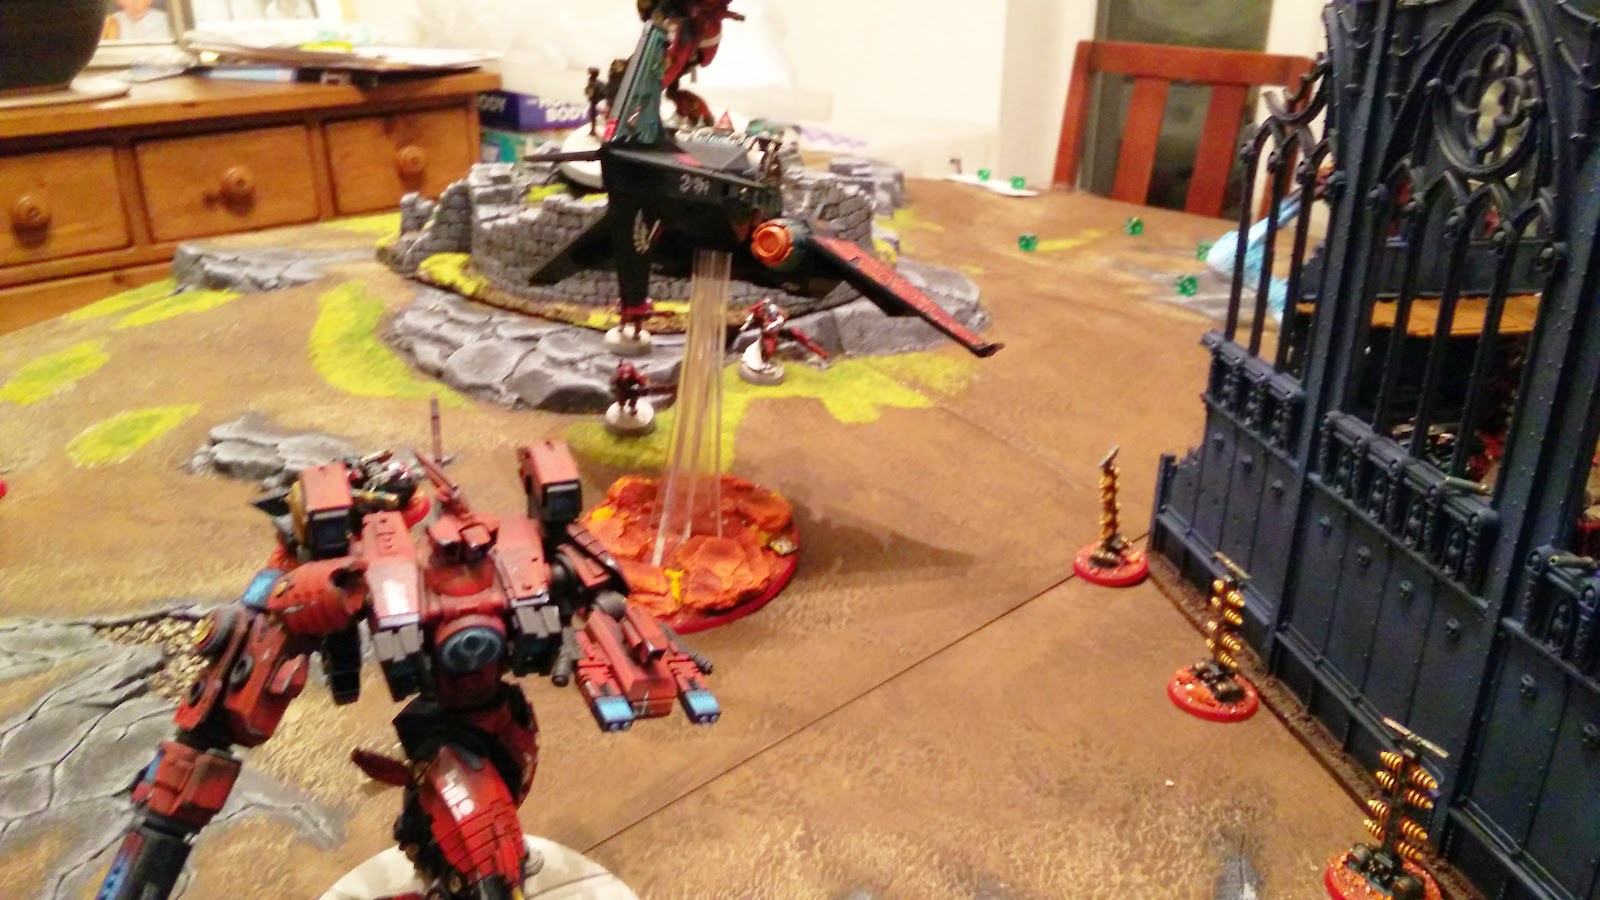
This would certainly help, my last Carnifex managed a 9" charge into the Skyray squadron.


Blowing it up, I think killing a stealer in the process.


The Riptides seemed to be doing more damage to themselves, overcharging, than I was but still managed to get three wounds on the Carnifex.


The Malanthrope was targetted with marker lights, stripping his cover and leaving him easy prey. The spawned gaunts are still in Synapse range of the Tervigon so at least they're not stuck with Instinctive Beahviour next turn.


I now have a quandry, I have the Riptides, Skyrays and the Battlesuit Commander left and my Broodlord and a Genestealer to assault. For some reason I think the Riptides are the best option, the Skyrays won't have them locked in combat and the Battlesuit will die and they'll be exposed again. All I need are some rends and I could take one or even both of them down


All I get is one wound on them.


I then decide to conga line the big brood of gaunts while moving the spawned gaunts up to swamp the Riptides, although I think I must have failed their charge move


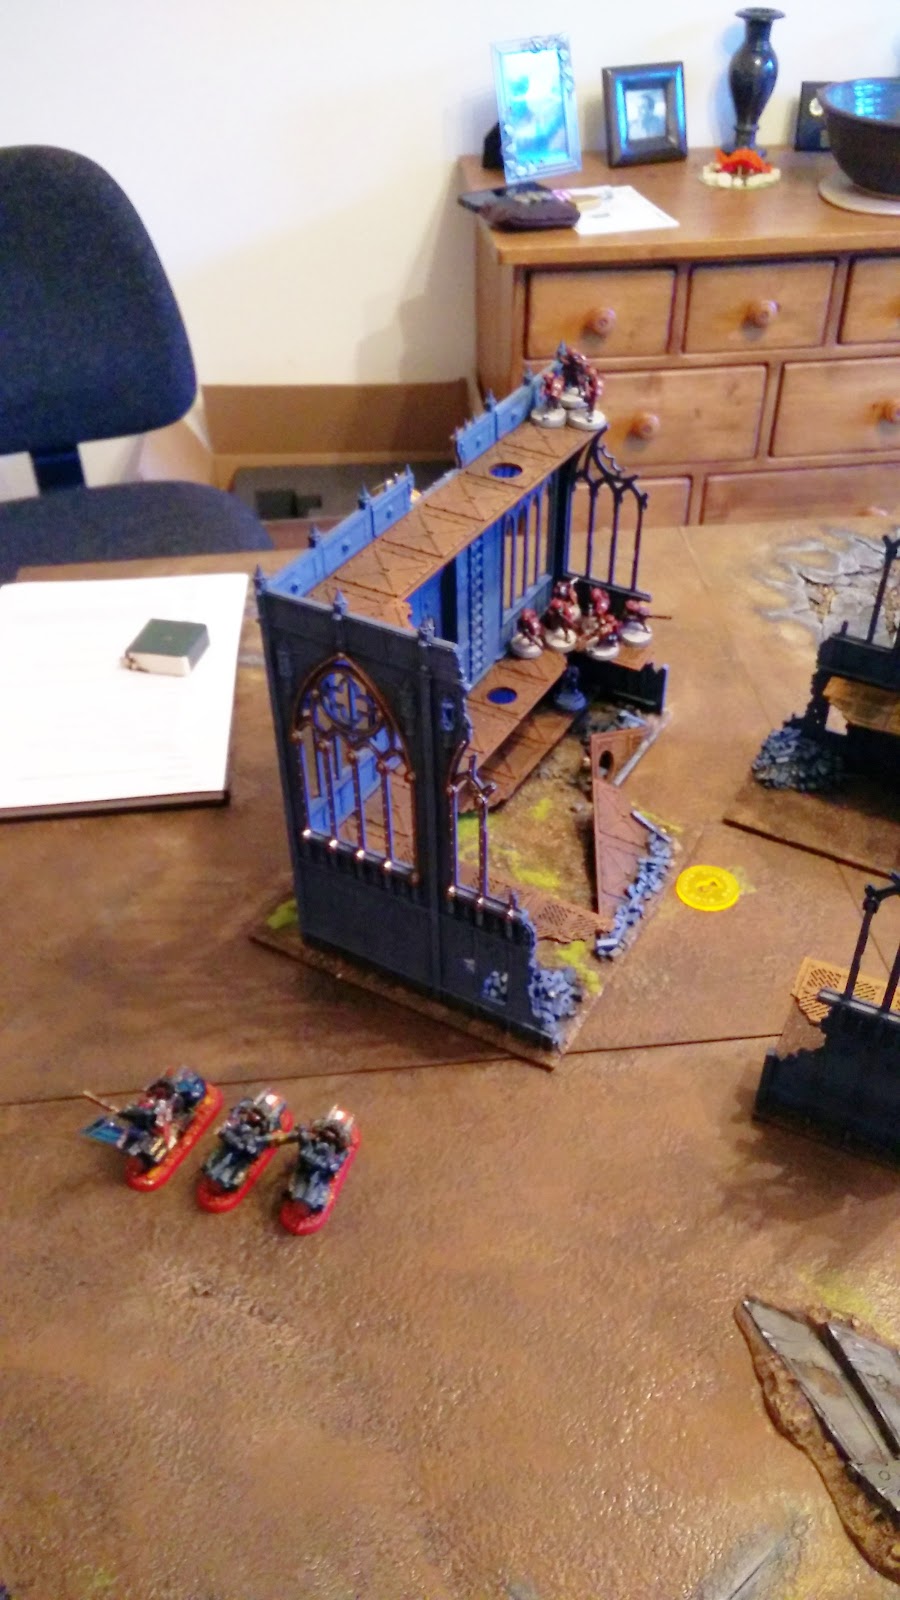
The Rippers pass their IB test [or fail and eat themselves] I still have a Maelstrom objective 5 but I also have a Maelstrom Card that gives me a point for Linebreaker this turn. So I realise I can get Secondary Mission Linebreaker and Maelstrom Linerbeaker for 2 points by ignoring Objective 5 for 1. The Tyrrannocyte meanwhile heads for the objective, but I think it was too far away to claim it. It does however cause the Kroot to break and run.


However, it draws the wrath of the Hammerheads.


Who blast it into smithereens.


Big brood of Gaunts manage to get into combat with the Riptides, the spawned gaunts must have been killed, probably by the Skyrays who are about the only thing left not in combat.


The Broodlord manages to get a couple of wounds on the Riptide but somehow manages to evade all it's return attacks.


Another round of combat and the Broodlord survives yet again, the Riptides just do not have the Weapon Skill to hit it. Sandy and I go to divvy up the scores and somehow I've won, thanks to controlling both Eternal War objectives. The Tervigon on the Skyshiled is sat above mine and the ObSec Broodlord controls Sandy's.


This is the face of a guy who has just had victory snatched from him thanks to an inability to remove one wound from a Broodlord. I have to say this was an awesome game, I think there was a level of incredulity about just how unlucky the Tau were for Sandy. I mean he did a good job killing a lot of my army but it was just that last squabble over his objective that swung it. But that was down to a series of unpredictable events - the random choice of outflanking, the random target of the Riptides and the sheer inability to hit the damn thing in combat. By rights that Broodlord should have been dead but instead it won me the game.


So I was going up a table and Sandy was looking towards the Wooden Spoon trophy.

Tuesday 16 August 2016

1500pts battle report - Dark Angels/Knight v Tau

Liam and I haven't had a battle since Throne of Skulls, we never even finished that properly thanks to the early closing at Warhammer World. It's odd really as he lives only about 20 minutes away from the train station I get to work so as I'm half way there anyway I just take my stuff and go straight from work, he even made me tea - spaghetti and meatballs which was pretty awesome.

The low down:
  • One of the Maelstrom missions - 3 cards per turn cannot discard numbered objectives, opponent can 'steal' them from you.
  • Dawn of War
  • Warlord Trait - +1 to Seize the Initiative, re-roll reserves
  • Liam got a Maelstrom Warlord Trait that allowed him to discard even the numbered objectives
  • I lost deployment and set up second but seized the initiative without need to use my Warlord Trait!
  • No night fighting.
Initial deployment


Liam came unstuck, as battlescribe no longer gave him an option to take his Skyshield, of course a big ruined tower works exactly the same, near enough although my Dark Angels were the focus of a lot of scorn when they used cover ;) .


Like my Bastion, 'hiding' behind the ruins.


Having stolen the initiative Liam was convinced he was already doomed, banking on a first turn where he destroyed my Lancer. But for me it was all about the objectives and my Ravenwing managed to get objective 2 while my Tactical squad [not shown] next to the Bastion secured objective 3.


The Lancer got within range of the Stormsurge and I got 3 hull points on it. The Ravenwing went for the Tetra's


I managed to kill one Tetra and I think another was damaged. Liam's turn, despite his worst fears turned out really well. The bikes by the ruined tower got reduced to one and fled. He had the mission to get D3 VPs for holding three objectives, he also had to claim objective 2, which his ObSec Fire Warriors took with ease out from under the nose of my Ravenwing. They also shot them with everything they had but their Ravenwing Jink re-roll meant only one fell to the Xenos weapons [much to Liam's dismay]. With three objectives he got the full 3 VPs on his D3 roll, plus objective 2 so ended the turn 2:4 in the lead.


I rolled for reserves but rerolled a passed Deathwing to keep them off the board, hoping they'd be better off if I'd got an objective to capture in Liam's board half, which I didn't currently have in my hand. The Dark Talon Zoomed on though! Interceptor fire took 2 Hull Points off it, I didn't Jink to keep the Rift Cannon in play. Shooting-wise I think it shot the Tetras to pieces with Hurricane Bolters, the Rift Cannon doing very little. This won me First Blood and a VP for killing a unit in the shooting phase. More importantly it took out all but one of his Marker Lights which meant his Stormsurge would struggle to fire it's D-weapon missiles!

The Lancer had to make a decision though, take out the Storm Surge or assault the Fire Warriors. I was reluctant to do the latter as I thought I'd be tarpitted with hindsight I should have done that and hoped to remain locked in my turn [by not stomping at the least] and then win in Liam's releasing me to assault in my next go. Instead I went for the Storm Surge, it seemed the biggest threat but thanks to his saves I think only 1 or 2 more hull points went on him.


The remaining Ravenwing on my left flank shot at the fire Warriors, killing just one, the Bastion also took another. I was hoping to thin the numbers for assault and as I was only 1" away at the beginning of the turn didn't think it was risky. Then I assaulted and overwatch by them AND the Riptide lurking behind the ruin meant I needed a 10" charge roll through cover... Yep these guys did it, hence the Evel Knievel pose as they jumped to the first floor!


I won the combat by 2, the Tau broke and I over-ran them consolidating towards the centre of the board. I also claimed objective 4 for another VP


The XV-109 arrived, flying into position directly behind the Lancer. With no shield to protect his rear armour he got plasma-flamed to oblivion [everything else, including the Storm Surge missiles missing by miles]. 


The resulting explosion did no further damage to anyone else.
 This gave Liam D3 VPs for taking down a big walker, he got 2 VPs on the roll. He also gained a VP for holding objective 1.


The Riptide focused on the Ravenwing, I think he won, making the score at the end of turn 2 5:7 in Liam's favour.


Turn 3 and Deathwing arrive. I need yo kill their leader for D3 points to get me back in the game, it's at this point I'm regretting the Lancer not assaulting those Fire Warriors he's joined to.


I throw everything at them but a Warrior and the Leader survive to thwart my attempts. I do however score 2 VPs for gaining objectives 5 and 4, we've drawn even again.


The Deathwing assault at some point [presumably the turn after they arrive] with only three left, one being the sergeant with powers sword, another the Apothecary with Narthecium and the last being my 'big gun' with power fist I do little damage thanks to some upgrade that prevents me getting the extra attack on the charge. The Riptide would subsequently crush the three of them and controlling objective 1 elsewhere would take Liam into the lead by 1 VP.


My next turn saw the Dark Talon hover, so I can get a shooting attack on the Warlord and hope the Rift Cannon will double and take out the Storm Surge too. Unfortunately the cannon misses, deviates wildly and no doubles :( The Warlord survives the Hurricane Bolter by heroically throwing his bodyguard into the blessed bolter shells. Thanks to hovering I couldn't release the Stasis Bomb, so the mission and Slay the Warlord goes begging I get nothing this turn still 7:8


With the flyer vulnerable in hover mode the Storm Surge brought all it's weapons to bear.


Which were significant, with obvious results.


The Riptide roasts the Techmarine getting Slay the Warlord.


The other Riptide smashes the Bastion to pieces [has it ever survived?] Liam gets Line Breaker, completes another mission of being in my DZ, claims objective 3 AND gets D3 VPs for having twice as many objectives as I do. You guessed it Liam gets 3 VPs on the roll. So the maximum  5 VPs from all his Maelstrom cards, plus the 2 VPs for Slay the Warlord and Line Breaker resulted in a final score of 7:15. It was 12:30am so I called it there.


Before I look at any of my actions Liam was adamant that the battle report made something very clear - his dice rolling was appalling. Mine was ridiculously lucky but his was atrocious in his eyes and wanted everyone to know how bad it was. That said let look at how he beat me 7 VPs to 15!!! ;)

Bottom line I screwed up with the Lancer, I should have charged the Fire Warriors. Hindsight is always 20:20 and to be fair I did not realise the XV-109 could be so devastating, or in fact remember it was coming on!. Rergardless that exposed back is quite the weakness for the Lancer so I must remember that in future.

I was also impressed by the bikes and I'm looking forward to adding some more, they'd have definitely been more effective than the Deathwing. Another 8 bike would have been more shooty, more board control and more target saturation. I need to get more bikes done. I never imagined my Dark Angels being Ravenwing heavy but they are seriously effective [as has been observed by many] and playing with them I can see the appeal and if I can get to grips with how to use them I think I could really enjoy the fast hitting nature of bikes.

Anyway, it was a great game, one I casually threw away but I still see these as learning experiences so I'll try to be more aggressive next time with what I have at my disposal.